Thursday, June 28, 2012

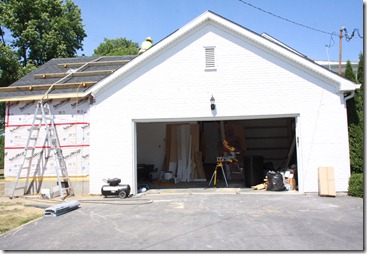
A Shingled Roof!


We’ve been hard at work in various ways this past week.  The girls and Noah and I have spent a lot of time watering plants, digging up unwanted weeds, wiping windows and washing floors.

Just look at that shine!

               IMG_2243


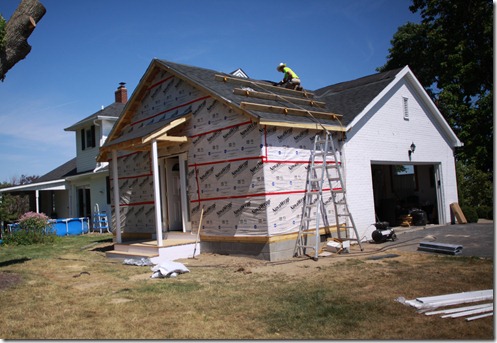
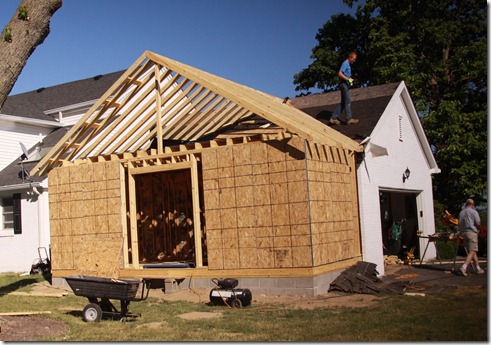
Luke and Glenn (and sometimes Alix!) have been concentrating their efforts on the mudroom.  Specifically the roof and the porch.

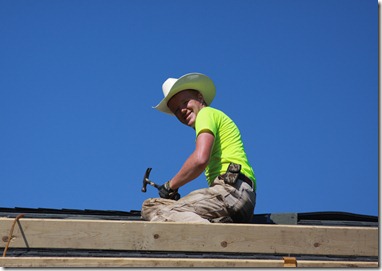
Luke shingled the entire roof by himself!  What a boy!  He carefully read the directions on the side of the shingle bundles, and then with a few tips from Glenn, he got going!


IMG_2250


                  IMG_2263


Since we’re in a drought, the weather has been perfect, albeit hot, for roofing.  Luke was a trooper and worked at a steady pace, coming down periodically for rehydration!

After only 3 days – he finished! 

                  IMG_2246


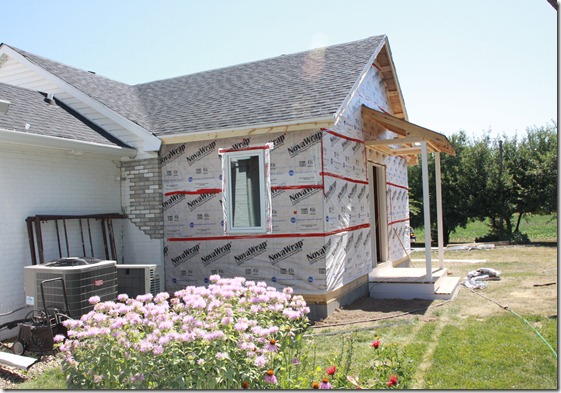
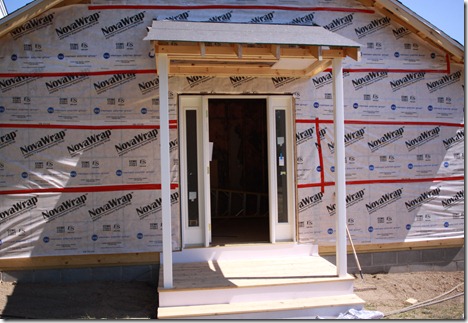
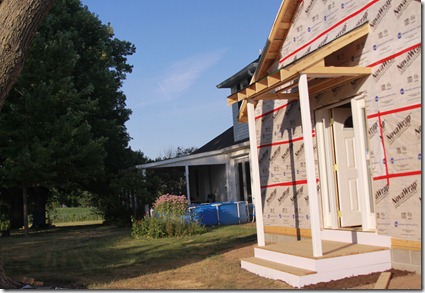
And you can see from these pictures that while Luke was on the roof, Glenn was hard at work on the little porch.  It’s really beginning to take shape!


           IMG_2248

The door is open to the inside, but it’s not the door we’re keeping.  I’ll be going to the Habitat for Humanity Restore today to search for the one I have in mind.


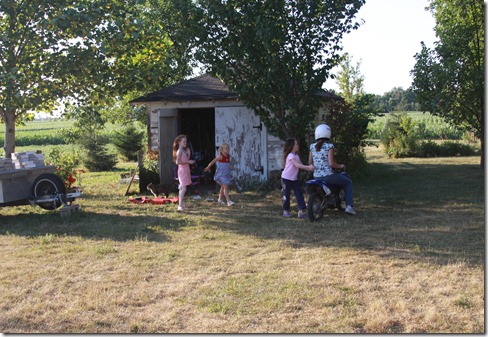
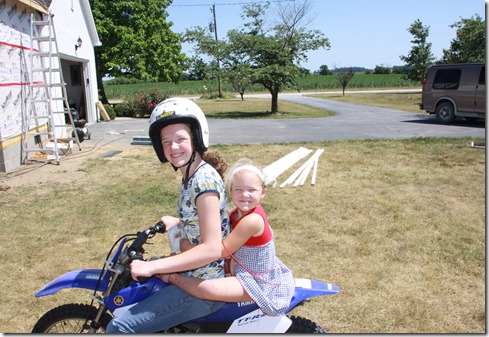
Alix has been my right hand girl this week.  She helped me clean out the cobhouse  (the kids’ name for the old storage shed) and huge sections of the garage.  She came up with some ideas for organization that I wouldn’t have thought to do.  She was a great encouragement to me, too, when my old body started to get tired!

Here she is giving the little girls rides after all her hard work.

            IMG_2267


Although the shed looks small, it is holding an amazing amount of items formerly in the garage.  Including the old kitchen cabinets and countertop.  Those have proven very useful for storing tools and small things, plus gardening stuff.  The lawnmower, several bikes, yard tools, saws, sleds, landscape timbers, axes, 2 cats and their food and beds, and much much more!!  Alix and I removed the hanging cabinets all by ourselves!  Just the 2 of us and Glenn’s power drill.  They were challenging – and heavy! – but made a big difference in the clutter in the garage, once they were gone.


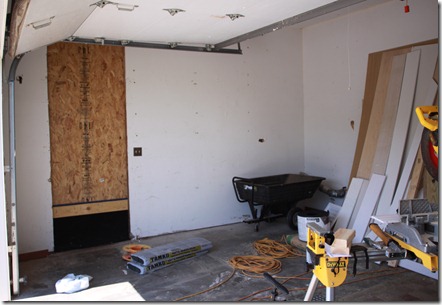
         IMG_2253


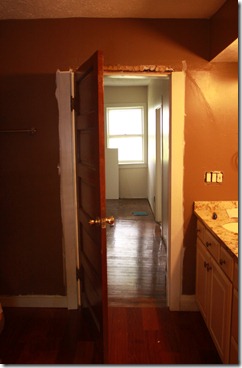
That area will be our bathroom, and the laundry room – back to back.  The plywood covers the entry into our closet from the bathroom, which is currently part of the exterior mudroom addition.


                   IMG_2268


Here is a nice view toward the patio and east yard.  Winding path, low brick sitting wall, paved patio, new columns and roof in the forecast for that section…   Maybe next year?


Meanwhile…  we’re having fun!!

                IMG_2249


So you don’t think we’re just twiddling our thumbs now that the roof is done, here’s a preview of what we’ll be doing next week!


             IMG_2252

Goodbye Big Garage Door!!  Hello Master Bedroom!!  

Changes are right around the corner!
Friday, June 22, 2012

It’s a Wrap!


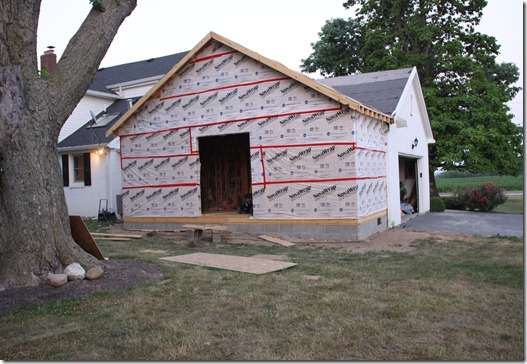
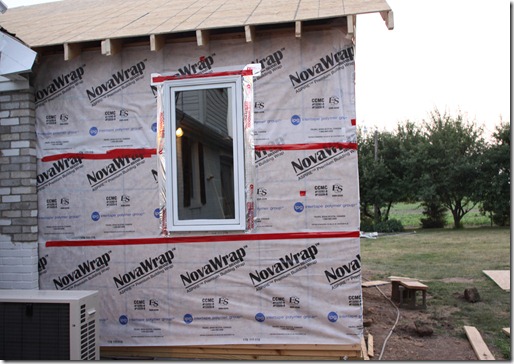
The mudroom is wrapped and the window is in place. 

IMG_2145


Cameron came over and gave Glenn and Luke and Alix a helping hand with the Nova wrap.  (Menards’ version of Tyvak) 

And I primed the window with a spray Zinsser primer, then gave it 2 quick coats of white spray paint.  You can’t even tell it used to be red.   We are pretty happy with the deal we got on the window.  It was a very expensive display window at Menards, and once they were finished displaying it, they sold it at a clearance price.   So we were able to buy it for a fraction of the cost!  Although it’s a casement window, unlike the other ones at Kenilworth, it doesn’t have a grill, just like the rest of the windows.  Plus we figured that since it is on a different section of the house, it wouldn’t look too different.

  So far, so good!

IMG_2146


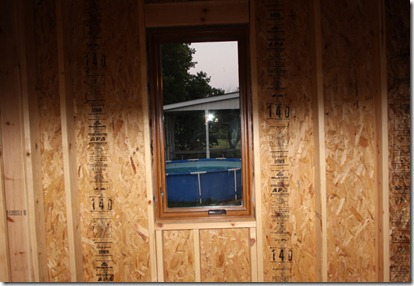
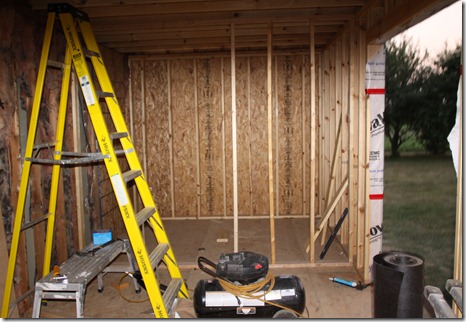
Here’s how things look from inside the mudroom.


Looking out the window toward the little porch.

                 IMG_2147


If you stand in front of the window and look toward the other end, you’ll see the beginnings of the wall that will mark out the master closet.  The doorway into the bathroom-to-be is covered by a piece of plywood for now since it is the old entry to the garage.  Don’t want pesky little critters going into our garage!

             IMG_2148


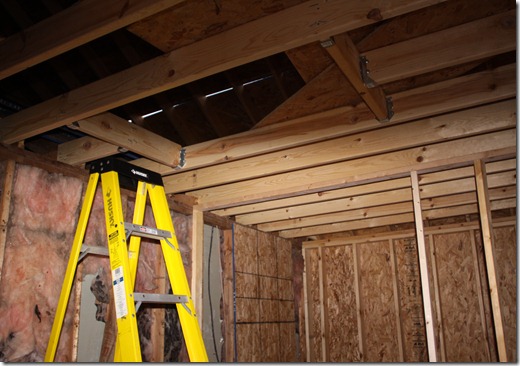
And here is the opening for the attic entry.  Old houses are notorious for their lack of storage – and ours is no different.  So we’re carving ourselves a little place above the mudroom for bins.  There will be a ladder that pulls down and we’ll walk right up!  We thought it was a good place for attic access, in case we ever need to have wiring or something up there looked at.  I”d rather have people going into the attic and knocking down insulation into my mudroom, not my closet.  Call me crazy…


             IMG_2149


Today we’re going to put the rest of the black tar paper on the roof to make it easy for Glenn and Luke to shingle tomorrow.  Glenn has started digging the holes for the little porch – see my previous post on how that will look – but he needs the post hole digger to go the rest of the way.  It’s in the van, ready to go. 

I’m also going to try to get the mudroom door painted, and finish painting the kitchen bookshelf.  This bookshelf will most likely no longer be the kitchen bookshelf, though.  I’m thinking it will be great in the schoolroom!

Thursday, June 21, 2012

Brighter and Lighter


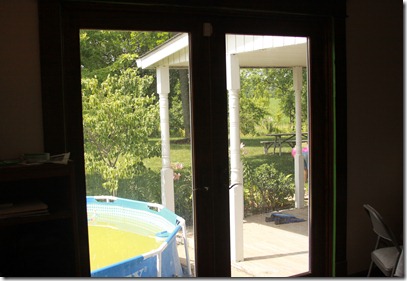
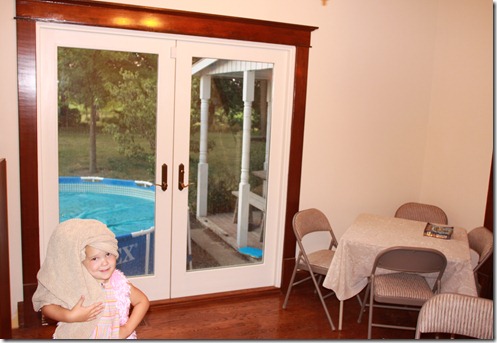
Here they are!  The doors are white and bright – so much better to look through.  And we are looking through them, one way or the other, many times a day.

Olivia is our lovely presenter…

Before…

IMG_1762 


IMG_2143

After 2 coats of Zinsser Cover Stain, and then 2 coats of Sherwin Williams Pro Classic trim paint- they’re done! 

Another view.

Before:

IMG_1763

IMG_2144

Note – there was absolutely no trick photography or special effects as far as doctoring the photos to show a stark contrast. The doors really were that dark before!!

Ahh….


Have a great day!

Wednesday, June 20, 2012

Painting Again…


Ok, it’s been too long!  I had to find something I could paint.

Enter:  the kitchen doors.  (hey that’s kind of a pun – I didn’t plan it, either!)

IMG_1762


These doors have been on my “To Do” list for a while now.  I just don’t like to look outside, feeling like I’m in a dark hole, and no matter what time of day it is, they’re just plain dark!

Their day finally came to become…. White!


IMG_1763


And while I’m at it, don’t you think that little bookshelf is just begging to be brighter?

To see the results…. stay tuned!

Getting by with a little help from our friends


Last week we had a few extra helpers at Kenilworth.  Old friends came to lend a hand. 


Here are George and Luke – they look happy, and they should be!  They got to spend time on the roof, with tape measures, and big boards, and the air nailer…

              IMG_1769


Tape measures are at the ready and Glenn is giving instructions from the ladder.

IMG_1764


Meanwhile the girls were playing drawing games and having fun with other things, things that are a little more, well… girly.

Hi Alix, Laurabeth, Caroline, and… Olivia?  She’s hard to catch sitting still, sometimes.


                IMG_1771


At the end of the day, things looked very good!   Thanks guys!


IMG_1767

Friday, June 15, 2012

Rafters!


Early in the week, Luke was a huge help to Glenn with getting the rafters in place for the mudroom.

IMG_1747

Luke had a blast – and Glenn had invaluable help.  Just think how happy Luke’s future wife is going to be with us some day…


IMG_1749


There will be a little porch for the entry.  We got a great deal on a single door with sidelights.  After a little switching around with the doors, we seem to be accumulating them, we will have a nice bright entry into the mudroom.  The little porch will be wider than the entry door and sidelights, and will step down a couple of steps.  It will also have its own little roof.  I found inspiration for the entry on Pinterest.  Although ours won’t be exactly like this picture, this design been a great starting point.


                Pinned Image


This was taken Tuesday evening at the end of the day.  Although you can’t see him in this shot, Luke is right up there – oh – ok, there’s his fluorescent green gloved hand sticking up through the rafters towards the top of the roof. 

IMG_1761


It’s pretty exciting to see our ideas come to life after starting out as sketches on a piece of paper. 


We’re so thankful for God’s goodness to us!

Thursday, June 14, 2012

Mudroom Beginnings


IMG_1635

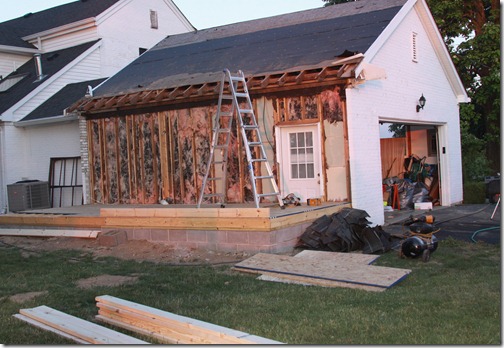
Here is a look at the mudroom in all of its initial glory.  Shingles are off the garage – thanks to Luke.


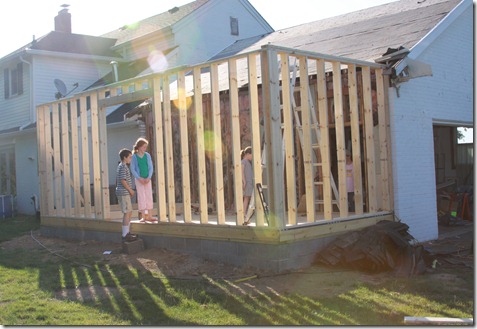
Then the next morning – walls are going up!  Glenn and Luke worked a little late last Friday night and got up the long wall.  The guys left early the next morning, and by the time the girls and I arrived around 8:15, here’s what we saw!


IMG_1647


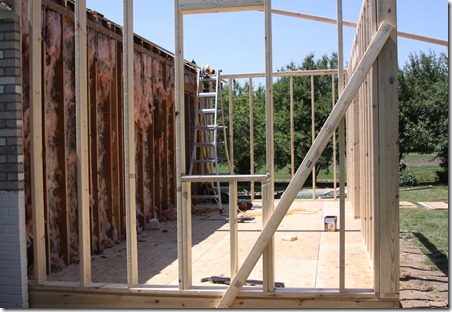
The East end has a window – it will include the pantry cabinets, which will be on the wall to your right as you look at the picture.  A hallway to the left will connect the mudroom to the rest of the house.  But – we can’t cut that opening until we have the mudroom closed in!

IMG_1679

We made a lot of headway last Saturday – enough to be able to close the holes in the roof we had made to keep out the rain we were supposed to have.  (but didn’t)


IMG_1687

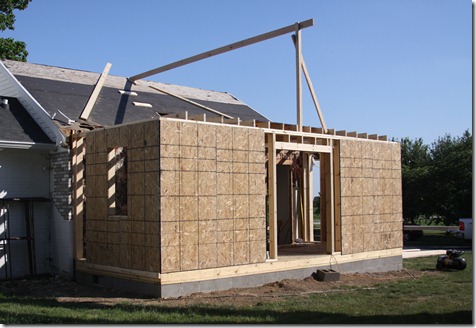
That’s the ridge beam in place – waiting for rafters.  I was so excited about it, I almost went up the ladder myself and grabbed a hammer to start swinging them up!  But I didn’t.  I let Glenn and Luke (and Alix helped, too) take care of things.  Cameron was back again – at just the right time to lend a hand.  Thanks, Cameron!

And…..

We’ve made more progress throughout the week!  With a little more help from our friends again – especially George – things are looking great!

I’ll get some pictures up soon!

Tuesday, June 12, 2012

Painting a Bathroom Part 2


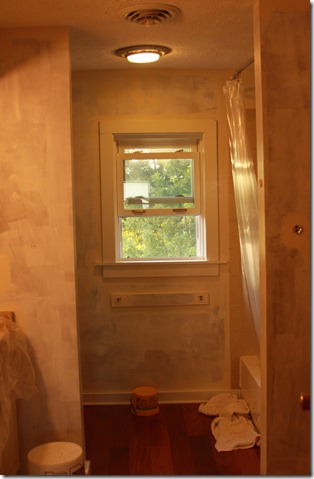
Priming over a dark color looks pretty messy after just 1 coat.


          IMG_1574


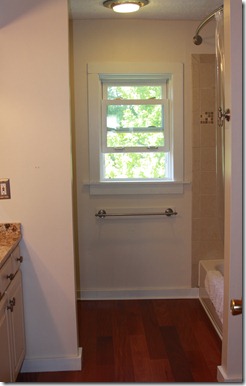
But after a 2nd covering over the especially dark areas, and 2 coats of wall paint, it’s amazing how a room can be transformed!


      IMG_1606


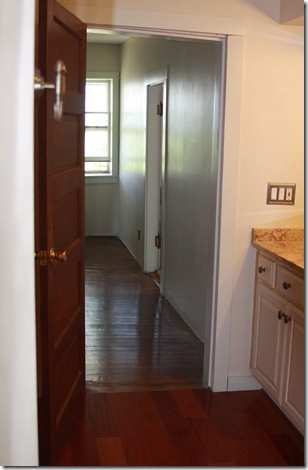
The walls are painted, the switch plate covers and towel bars are back in place, and even the trim pieces over the doors are all set.


                           IMG_1598


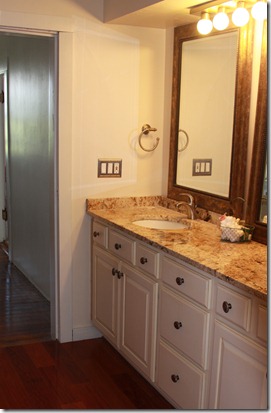
It was convenient that the countertops and cabinets that were already here match the ivory paint I’ve been using throughout the house.  Although, I suppose ivory could be considered a versatile color.  Smile

  IMG_1597


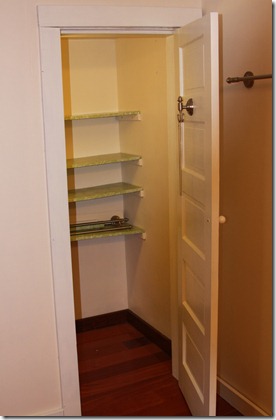
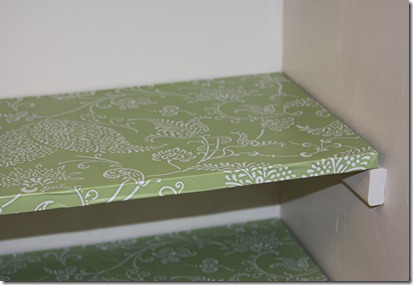
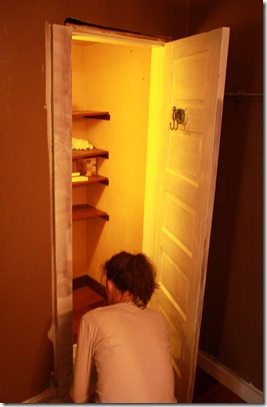
There are 4 somewhat warped shelves in the little bathroom closet, which is behind the door when you walk in to the bathroom.  We may do something different in here when we do the rest of the bathroom later, but for now the girls and I picked out a pretty contact paper from Target and wrapped the shelves.  I think they’re much improved!  And the girls love it.  They make the shelves seem cleaner somehow.


                         IMG_1608


IMG_1611


So that’s it for the girls’ bathroom!

The pictures really can’t give you an idea of how different the space feels now.  In fact – when my friend Sharron first saw it, she didn’t realize I had painted it and she thought we took a big dresser or something out of the room because it felt so much bigger.

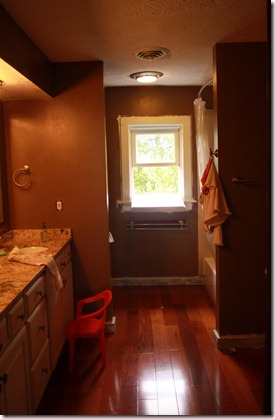
Here’s one last before and after shot to compare:


IMG_1853[1]                IMG_1606

It would be nice to have an “after” shot that wasn’t bare bones – but someday we’ll have pretty things in there, and then I’ll be able to get a real “after”!

That’s it!  Have a great day!

Monday, June 11, 2012

Painting a Bathroom


Although I have some ideas for the girls’ bathroom which include bead board, sconces, different mirrors, and a cabinet/hutch thing on the counter between the sinks, we aren’t planning to do those things until later.  As in, after we are living there and have a few more of the necessary areas checked off.

However, a couple of weeks ago, Alix actually implored me to paint the bathroom.  She said it felt like a dark dungeon.  Well, now, how I could I say no to that?  Paint another room white?  Lighten up a very dark area?  All right, then.  Let me just get the paint and my handy Purdy brush.

Here is a look at the bathroom – taken when the former owners were still there. 

IMG_1853[1]

The bathroom has new cabinets and countertops, pretty flooring, and new fixtures. But the chocolate brown walls, although a pretty color combination with the cabinets, made the bathroom feel closed in and dark.

I started with the trim.  I usually do, because it’s easier to edge around the trim when I’m painting the walls, than it is to try to keep from getting the wall as I paint trim.  Hmm, does that make sense?

First I used the brown can of Zinsser primer – it’s oil based and covers stain perfectly.  (I use the blue can, the water-based kind, for walls.)  I applied 2 coats of the primer on all the baseboard trim, the little closet door, the door trim, and around the window.  I even did the wooden towel bar holder under the window.

IMG_1456

Here’s how the window looked after 2 coats of primer, and the baseboard after 1 coat.  I taped off the floor next to the trim in some parts of the room, and around the tub tile.  But to save time, I also used a piece of crisp new paper.  I slipped part of it under the crack between the floor and the baseboard and scooted it along as I painted.

After several strokes, the edge gets damp enough that I need to pitch it and grab another piece of paper, and then continue along.  It works great and is much faster than taping everything.  Every so often the edge of the paper might scrape a little paint on the floor, but I keep a rag handy and just swipe it up.

                            IMG_1457

Here I am working on the trim around the little bathroom closet.  I’ve already done the door – as you can see.  I taped around that little hook before I primed the door – and then later realized I could use an Allen wrench to take all the little hooks off the wall.  There are 6 towel bar/hooks in the bathroom.  It took me a little while to unscrew them all with that tiny wrench, but it looks much more professional than just taping around them.

Here is a shot of the doorway – notice the top piece of trim is missing!  Believe it or not, that piece, and the one over the closet door, weren’t attached to the wall at all.  Just propped up there on top of the two side pieces!  So I took them off to paint them separately.

                               IMG_1458

Priming the trim took several hours.  By the time I finished the first coat, I was able to start the 2nd!

The next day, I began painting the trim color.  I did 2 coats of trim paint for most of the room, but I can tell I’ll need to touch up a few more spots – including painting the little closet door for the 3rd time. 

Then the next day, I took off all the little towel bars/hooks, the switch plate covers, and the mirrors.  The mirrors were stuck to the wall, quite firmly, with double-sided tape- a really strong kind.  When I took them down, the tape pulled part of the drywall off.  So before I could prime the walls, I had to mud, or spackle, the spots it left, in addition to a place on the wall near one of the towel bars which needed patching.  After letting them dry several hours, I sanded them, re-mudded, and let dry again till the next day.

Finally, I could prime the walls! 

Stay tuned…

Saturday, June 9, 2012

Basement Update


Welcome to the Boys’ Room – it’s that door there straight ahead.


                     IMG_1498


I haven’t updated lately with our progress in the basement – aka the Boys’ Room.  Mostly because we just haven’t been down in that area for a little while, much to Luke’s chagrin. 

He goes there at least once each day – usually to sit in a lawn chair and read for a few minutes, with an open jar of peanuts sitting next to him on the floor.  Just for a break now and then from the hard labor he’s been conscripted into for the last 3 months.  Actually, I think he’s taking dominion of his space – and I’m glad he is.  It’s probably a young man’s dream to have a room in the basement.  It’s cool at all times, and young men seem to prefer cool temps – at least my young men do.  Plus, he’s personally done the majority of the work there, either with others or on his own.  I’m proud of how hard he has worked and thankful for how much he is learning.

And he’s been making a point to teach Noah along the way.  I’m not sure Noah wouldn’t rather be outside in the pool most days, but he’s a willing student and he loves and respects his big brother so he’s happy to spend time with him.  And they share the same humor.  Boys’ humor.  They laugh about the cutest things – and sometimes I really don’t get it.  But they do.

But I digress.  You’re here to see progress.  So here are some fun shots to compare where things are going with where we started:

Here we are in the basement when we viewed the house with our sweet realtor, Heather:


            IMG_1839[1]


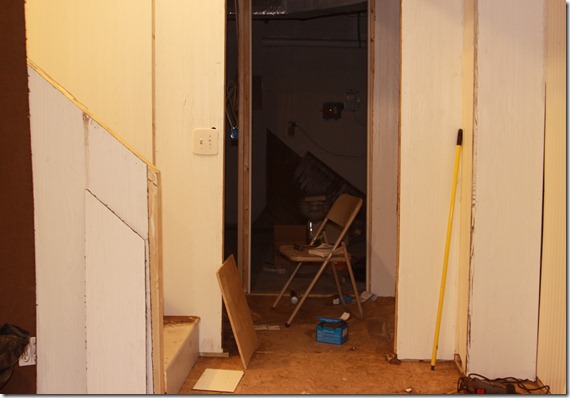
And here is how it looks today.  Obviously not finished, but very different!  The doorway just past the stairs is the closet entry (the chair is sitting in the middle of the space) with hanging clothes to your left in a nice big walk-in area, and then the right side will have open shelves for all the boys’ weapons of war and Legos.  Beyond the chair is another doorway – that will have a door, although the first entryway into the closet won’t – and it leads to the utilities.  You can see them in the above shot – the furnace, water heater, etc.           

IMG_1570


The other end is also dramatically different.  It started out with plant lights and a tiny window, plus some stored items.

IMG_1840[1]


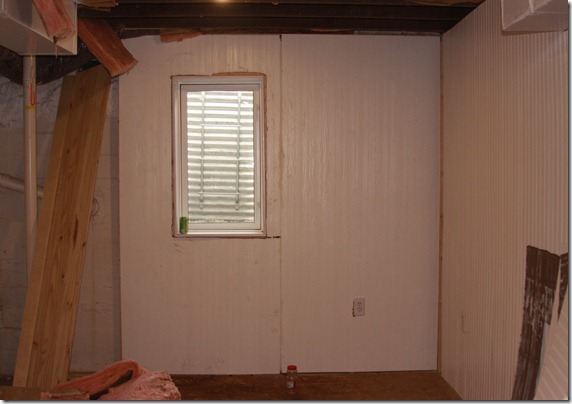
We leveled the floor, put in a new window..

IMG_2380


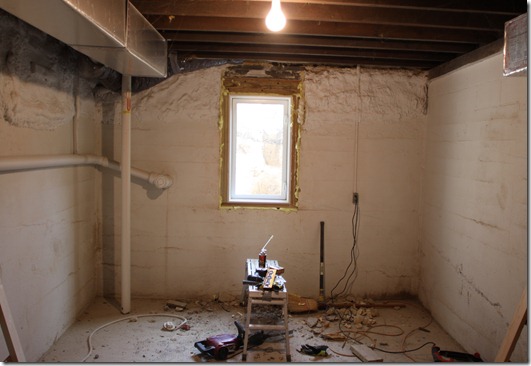
And now we have new lighting, walls and paneling, and a new sub floor.


IMG_1568


Still need to get the little radon area enclosed to the left of the picture, the insulation back in the ceiling (for sound proofing rather than a thermal barrier), and the ceiling panels installed, the little crawlspace hatch needs to be made, and lots of trim around the edges.  Then finally the carpet.

Once we get the mudroom enclosed and a few other loose ends tied up – including the boys’ room – I’ll catch you up!

Ok – see what I mean about the peanuts!  There’s the jar on the floor in the picture!!  Ha!