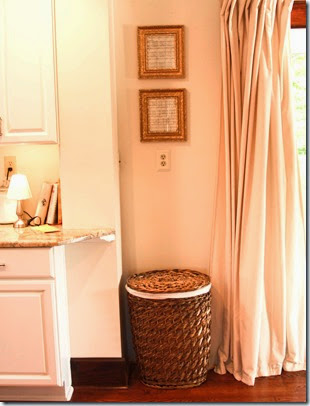
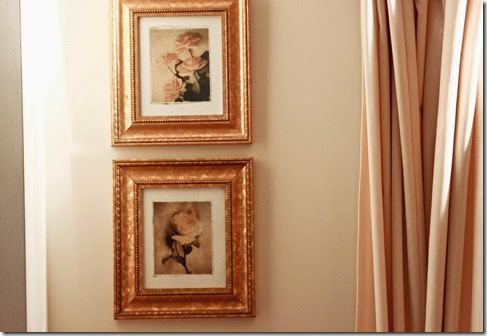
I bought these framed prints years and years ago. I loved the softness of the flowers and the detail on the gold frames.
But lately, I’ve wanted a change in that spot. I couldn’t quite put my finger on what I wanted, except I knew I still really liked the frames, but was tired of the flowers.
One day, it hit me that I could keep the frames and put something else inside of them. Because the prints came with paper glued over the back of the frames, I had always kind of mentally seen a stop sign. I couldn’t change the print because there was paper glued over the back, right? But it struck me that there was really no reason I couldn’t tear away the paper. There would surely be no Print Police frowning at me or telling me I was doing it wrong; that I wasn’t supposed to replace a print that had paper glued over the back of it.
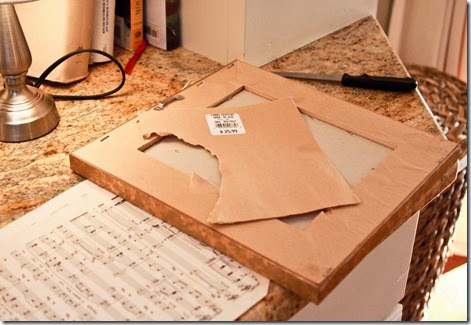
So I took out a meat knife and cut away the paper backing all around the frame edge on the backside of the print.
It was easy. And fast.
And I didn’t get a single ticket.
Last year, around Christmas time, one of Glenn’s sisters gave me some old piano sheet music that had been their mother’s. I put most of it in the piano bench, and it has sat there ever since, other than a couple that I recognized and have played now and again.
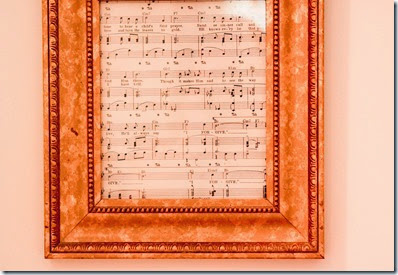
I took one of them, gently pulled it apart down the center crease, placed each piece of paper under the cardboard I had popped out of the frame, and traced around it lightly with a pencil.
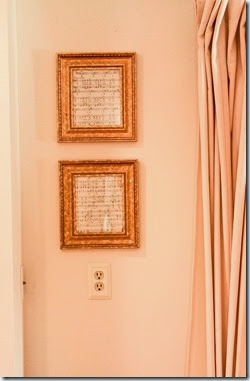
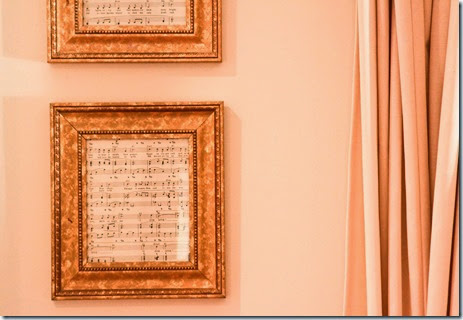
Each piece of the sheet music fit perfectly inside the frames.
I love it! Without spending any money at all, I changed something that was so simple, yet made the impact I wanted.
Have you found yourself wishing you could do a little something, without spending money, to make changes here or there in your home? I bet if you look around your house, and try to thing outside of the box, you might be surprised at the difference those little changes could make.
Thursday, June 26, 2014
Old Frames, New Prints
Sunday, June 22, 2014
Beauty
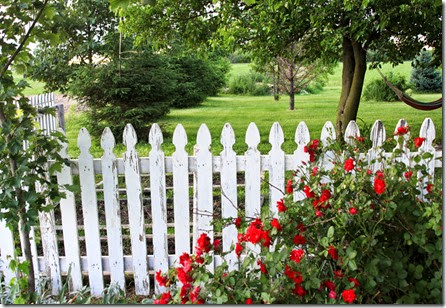
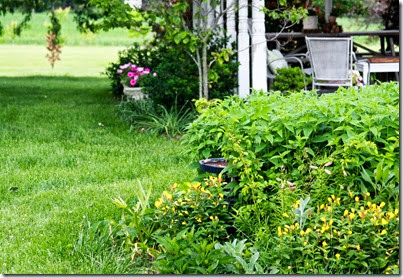
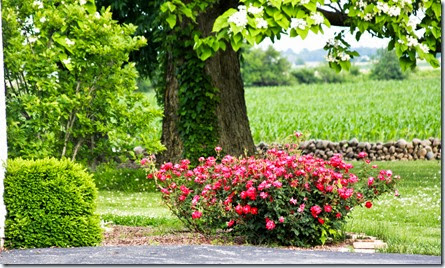
I took a few pictures of the flowers last week.
The roses were in full bloom!
On this beautiful morning, look at the beauty around you.
Given for your pleasure and delight, by One Who loves you.
Have a wonderful day!
Friday, June 20, 2014
Spring Tea
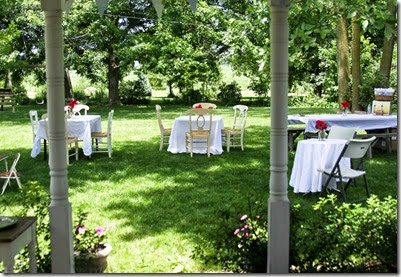
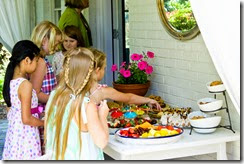
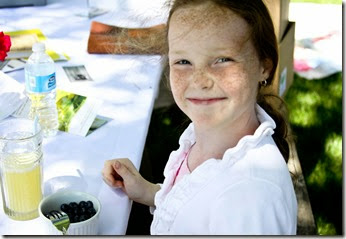
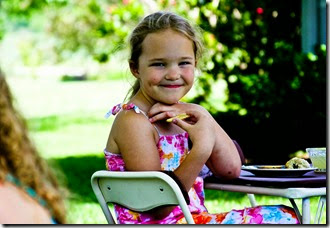
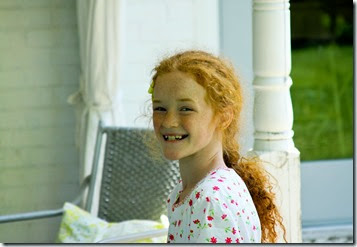
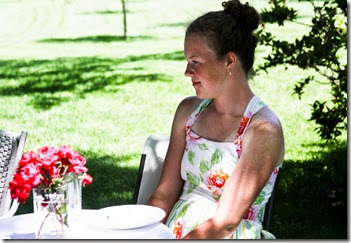
The girls and I hosted a Mother/Daughter Tea here at Kenilworth last weekend.
It was a beautiful day.
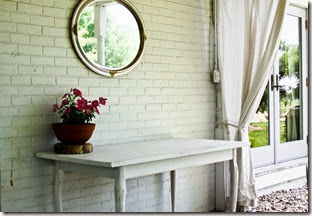
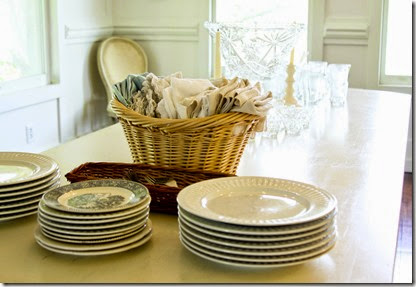
Although the table is empty here, it wasn't long before it was loaded with food!
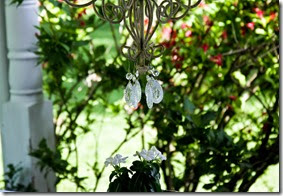
I hung a few extra chandelier pendants on the iron chandelier.
We used blue and white dishes and the girls helped me pick out assorted napkins that were blue and white, or something similar.
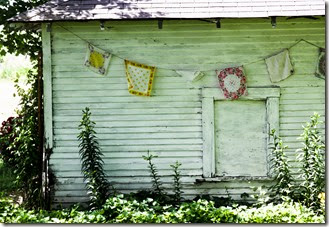
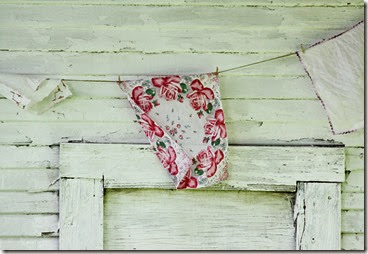
Alix used miniature clothespins to hang several of our vintage handkerchiefs on the cobhouse.
Aren’t they pretty!
And of course we cut roses for the tables.
But my favorite decorations?
The people, of course.
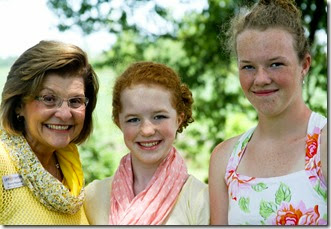
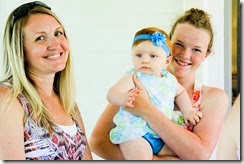
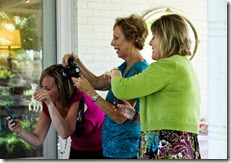
I think this one is so cute.. Mommy and both Grandmothers trying to get smiles
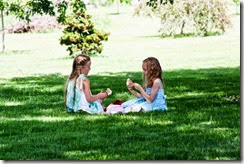
Little girls and their dolls!
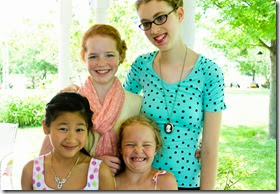
And of course my favorite girls. I love them so much!
Have a beautiful weekend!
Tuesday, June 10, 2014
Mom’s Folly?
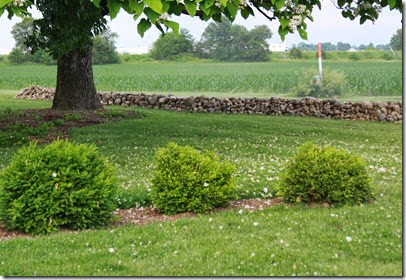
For some time now, I’ve pictured a long, low, rock wall across the front yard. Just like the ones we saw all over England and Wales.
Like this one.
Last Fall, I talked with Glenn’s brother, Clint, about us going over to his farm this Spring and starting what I assumed would be a very long task – as in months of effort - gathering the rocks. Clint is a farmer. Each Spring, before the corn gets too tall, he picks rocks out of his fields so that when his combine machines harvest the crops in the Fall, the machines don’t get clogged or broken.
A couple of weeks ago, Clint said they were picking rocks in the fields and loading them in a dump truck for me. His teen kids and their friends were doing the picking. He was planning to bring the rocks to me! Needless to say, I was completely surprised – and immensely grateful. We live almost an hour from him, so his offer was incredibly generous. I really wanted to show my appreciation by helping out as much as possible. So the kids and I have walked Clint’s fields a couple of times, with old screwdrivers, picking rocks out of the field and tossing them into the loader of a tractor as we walk along. One of Clint’s farmhands drives the tractor slowly while each of us scans about 4 rows of corn per person. Olivia was in charge of 2 rows. ![]()
It’s a hot, tiring job. One trip up the field is a mile, and after 4 lengths or so, most of our little ones were ready to be done. But I was so proud of them! They didn’t complain, even though they were dusty, hot, and tired. (of course I told them ahead of time they weren’t allowed to ask when we would be done) Afterwards we stopped for special drinks on the way home.
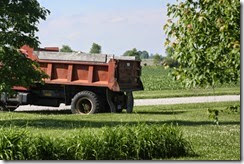
When the farmhand came and dumped the first load of rocks last Thursday, everyone was very excited. We took pictures of the dump truck,
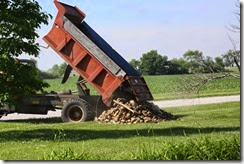
the rocks being dumped,
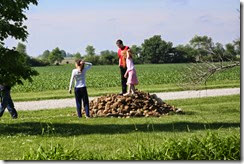
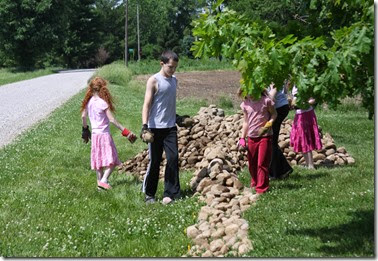
the kids climbing up the pile.
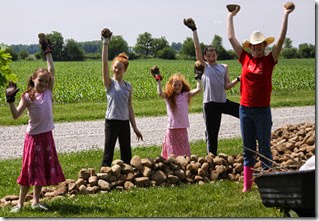
the kids holding up rocks,
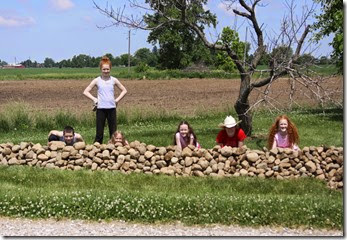
and then hiding behind them after we started moving them.
Woo hoo! We were all pretty excited.
At first.
But somewhere along the line, maybe after 2 hours, maybe it was after 4. The thrill waned.
And we started looking a little more closely at the distance we had yet to travel;
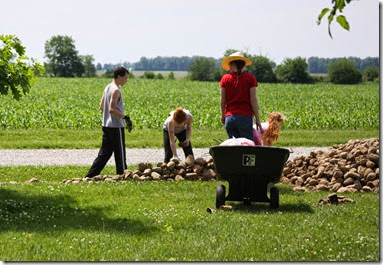
moving, piling, and stacking rocks.
We worked like crazy and spread the entire load in about 4 hours, weeding out some trash and pieces of metal that were mixed in with the rocks.
And then……
later that evening…..
came another load of rocks.
We didn’t take any pictures of that load.
We all went outside after dinner, as a family, and began moving the rocks. Some of the kids were singing, some made a chain and passed rocks down one by one while Luke kneeled and stacked them. We finished that load of rocks the next day.
And doubt set in my mind.
If you know me, you know that this sometimes happens to me. I get a great idea, I enlist helpers for a job which is dirty, messy, and completely overwhelming. And then about halfway through, or a little before, I think…
uh oh.
Is this going to look ok?
Is this going to be worth all the effort?
I lose sleep and agonize over what I’ve started, wondering how I can undo it and put it all back the way it was. But at that point, there is no turning back.
The worst thing about it this time was the amount of effort I had already required of the kids. I don’t like to waste time. Especially with something so time-consuming as this rock wall. The kids weren’t out for hours working on this rock wall because they thought it was a great idea. No, they were doing it because they love me and I wanted a rock wall. Well, and because I told them they were going to help. But mostly, because they love me.
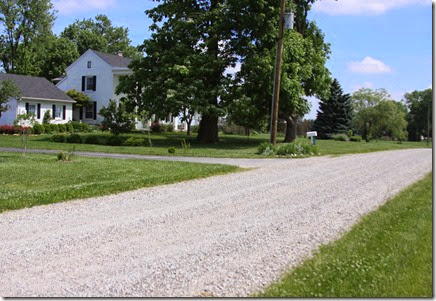
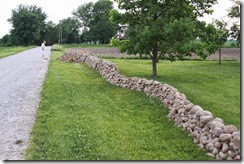
At my SIL’s suggestion, we took a drive last night to a home nearby that has a low rock wall. We’ve seen it many times before now, but I wanted to see it firsthand again, hoping it would be helpful for all of us to see a finished rock wall with our own eyes.
And it was.
Last night, the fourth load of rocks was dumped. It is a huge pile!
But now that we’ve seen that other wall, we are all encouraged. We can see that we really are going to love the finished product of all our effort. Just seeing that other rock wall has given me, especially, a boost.
We may be working on this rock wall all summer. But now I don’t feel doubtful about whether or not we will feel the effort is worth it in the end. Plus it’s this kind of opportunity for hard, menial labor that help us appreciate the hard work of others.
And we’re making memories together. And that matters.
In a way, the rock wall is comparable to other hurdles or problems I’ve faced in my life. Sometimes, in the middle of a problem or trial, doubt or fear creeps in. And it would be nice if I could hop in the car and just drive a little ways down the road to get a glimpse of what the outcome might look like. But that’s where faith comes in.
“The substance of things hoped for; the evidence of things not yet seen.”
In the meantime, while I wait to see how God moves the piles of rocks in my own and my children’s lives, continuously, into a long, strong wall,
I know the best thing to do is look at the piles He gives me with faith and acceptance.
Watch Him weed out doubt, weed out sin.
And Lord willing, He will strengthen me not to grow weary in well-doing.
Friday, June 6, 2014
Navy Dot Dresses
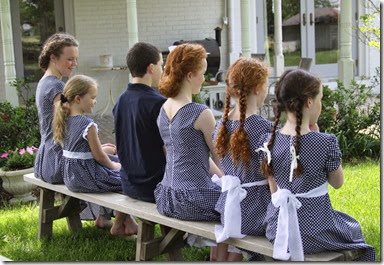
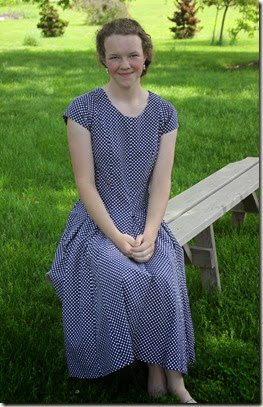
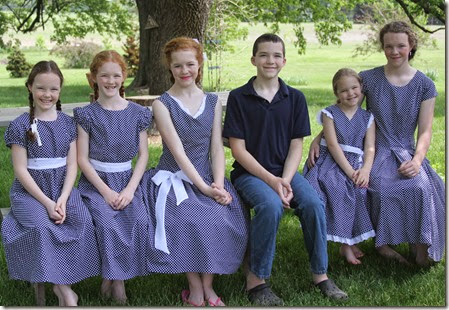
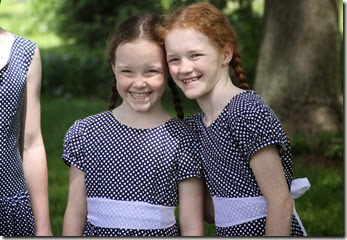
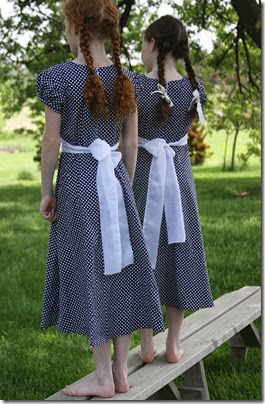
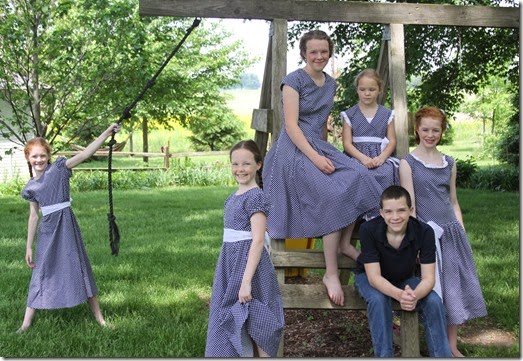
I finally finished the girls dresses. I would say it was a labor of love, but I had a couple of issues that keep me from being able to say it with a clear conscience. Nevertheless, they are done and the girls are quite content with them.
Alix’s was first, since I had a pattern for her which we had recently bought online for just a couple of dollars. Patterns are expensive – so I always look for sales. McCalls has a nice website with lots of patterns and great sales. The pattern is similar to this dress:

Most dress patterns have sleeve and neckline options. We used the small cap sleeve and really liked how it turned out.
Alix’s shoulders are just right for this kind of sleeve – soft and rounded. The pattern also had pleats in the skirt. I’ve done pleats before, but not in this way. It was fun to learn, and involved basting several long panels together which formed the entire front and back bodice down through the skirt. Between the panels for the skirt, we inserted 7 pleats. These were stitched to the panel sections and then the panels were split at the centers where I had basted them.
This gave a fullness to the skirt that is very reminiscent of vintage dresses. In fact, Aunt Pauline (who is in her 80’s) told me it reminded her of the dresses she used to make herself when she was a young woman.
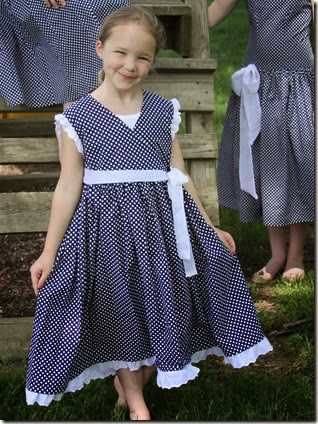
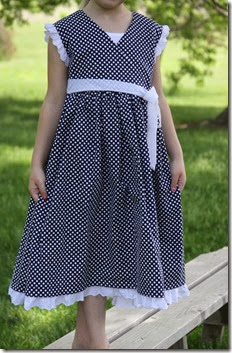
I decided to do Olivia’s next because I already had a crossover bodice pattern and knew it would go quickly. The skirt part was easy – just cut 2 large rectangles across a lengthwise folded section of fabric, to the desired length. Allow for about 1/2 inch seam allowance where it joins the bodice, and enough for a hem. Hem allowances typically used to be 3 inches, which was actually very practical and economical because it allowed for growth spurts. Nowadays, I see hems in many different widths. I chose a 1 inch hem for Olivia’s dress because I thought it would look nice with the eyelet trim around the bottom edge.
The Pinterest picture I used for inspiration was this adorable little dress..

I changed a few things to make it look a little older; like a smaller sash and bow, and narrower eyelet trim.
Next were the twins’ dresses. This is where things started to get tricky.
I had this picture for my inspiration:

I love how it looks like a slightly younger version of a big girl’s elegant dress.
Just right for two 10 year old girls.
I didn’t have any patterns similar to it, though. Looking closely at the picture, I could see darts in the front on the bodice and the skirt. I was able to find a back view and it also had darts in the bodice and the skirt. That was ok. I’ve done darts many times. But without any similar bodice patterns here, I knew I would need to take the girls’ measurements to create a pattern. They are built very differently in their upper bodies.
Let’s not go into the time it took me to get her bodice just right. It was a lot of time. ![]()
I gave up on the sleeve style in the picture and did something I knew.
But finally, we got it. After using about half a roll of Christmas wrapping paper and lots of tape.
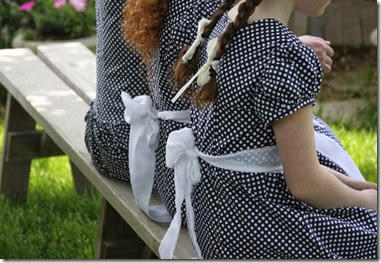
The fabric for the white sashes on the dresses came from the same canopy curtain panel I used to make the twins’ Nutcracker nightgowns.
Don’t be too quick to throw out fabric when you change things. I have re-created so many things by using fabric which was originally used for a different purpose. I have ripped zippers and trim off of old dresses or from clothing that we aren’t wearing, and even elastic from old fitted sheets has been repurposed.
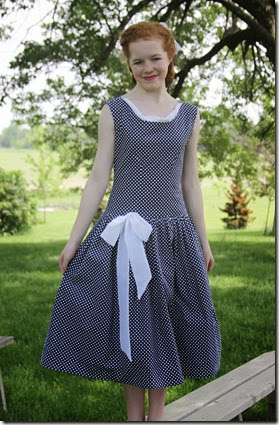
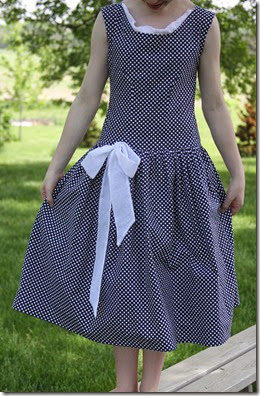
And then there was Kate’s dress.
I am sighing just thinking about how long it took me to draft a correct muslin for it.
She picked this gorgeous 50’s style, drop waist, crinoline under the skirt, darts in the front and back of the bodice.

So sweet.
I had saved it for last because I knew it would be intimidating for me, since I was only going by this picture.
More Christmas wrapping paper went into my trash box.
But eventually we got it and she is very happy with it.
Because she is narrower through the shoulders than the lady’s dress in our picture, I made a shorter horizontal cut for the neckline. One of the major issues I had getting this one right was that neckline. In the end, the fit was great over her shoulders and under arms, but we had a small gape (not gap!) across the front neckline. We decided to use some of the white fabric and create a slightly gathered panel across the front of the neck and up to the shoulders. It solved the problem and added a feminine touch.
The back is a V-line and I didn’t think the panel was needed. 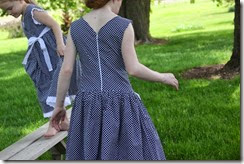
I also made a skirt for myself. My plans for a dress went awry because of time. Which I ran out of.
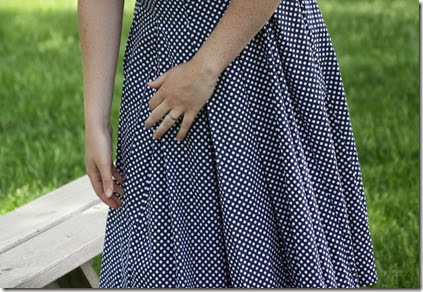
I don’t have a picture of me in the skirt, but here is the skirt I based it on:

It didn’t take me long to make – a few hours or so. But would you believe that after getting the side zipper just right, I stepped out of it to do the hem (the last thing!), and tripped over it. I fell to the floor with my foot stuck in the waistband and ripped it. Not on the seam. So I made another waistband, ripped out the torn one, attached the new waistband, and vowed never to step out of a skirt so carelessly again.
And there you have it! A really long post about dresses.
I think I lost Olivia’s attention on this one.
Hopefully, you are still with me.
Have a great start to your weekend!
![[IMG_3862%255B15%255D.jpg]](http://lh4.ggpht.com/-_-9YANc-uSQ/UnFP2bYBVqI/AAAAAAAAHJw/HZ2nCcC5nPA/s1600/IMG_3862%25255B15%25255D.jpg)
