Saturday, January 25, 2014

Trimming the Walls–the After Shots


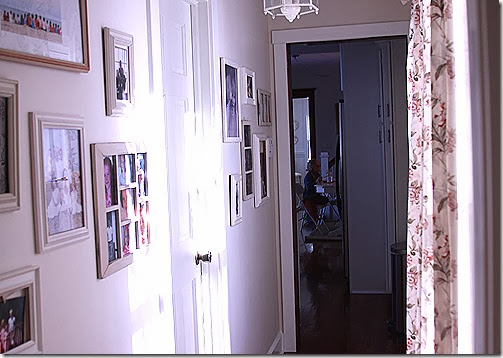
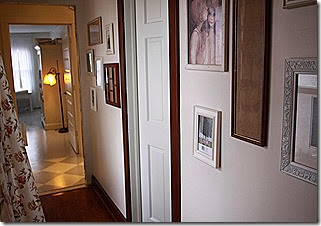
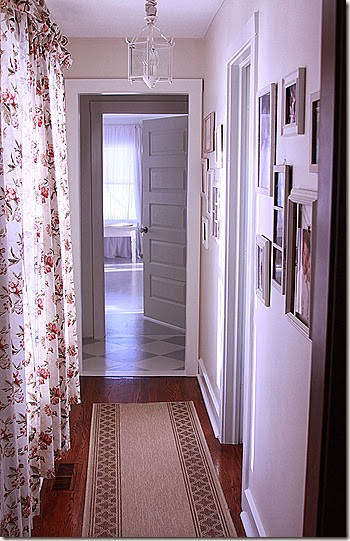
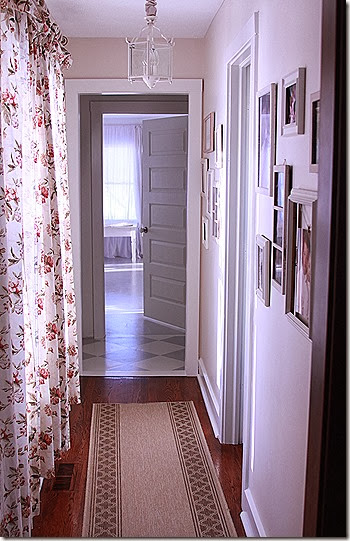
In looking for some views of the hallway to show the difference that trim and trim color made in our little hallway,

I found a couple of really old pictures!

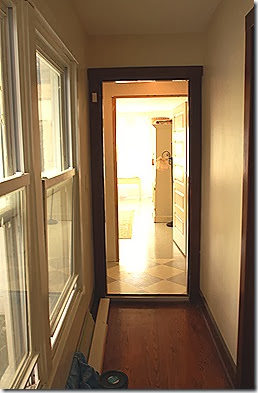
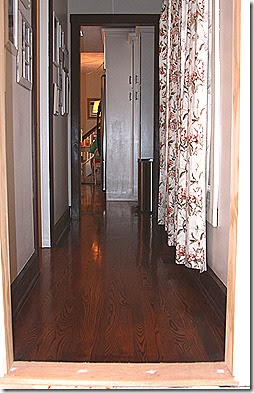
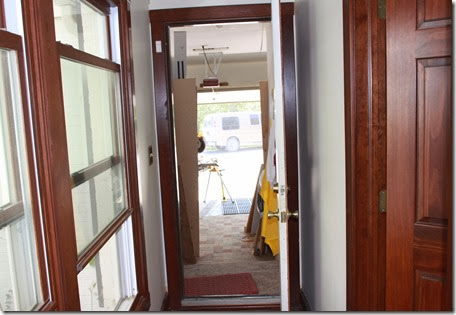
Including this one which we took on our first walk through Kenilworth, when the previous owners still lived here.


When this picture was taken, the door opened into the garage.  Of course the door is long gone, and now it is the pass through to the remodeled area which includes our master bedroom, closet, and bathroom-in-waiting, as well as the mudroom/pantry and laundry room.

Here’s what you used to see when looking down the hallway in that direction..

IMG_2258

It’s kind of a haphazard picture, so you might not be able to see that there were two steps down into the garage from the house; a small landing where you see the doormat, and then another couple of steps down.

I can’t believe it used to look like that!


Anyway… back to our present project, the trim around the entry and in the little hallway.

Here are some before and after shots for you to compare. 

I’ll try to use less words and more pictures.  Winking smile


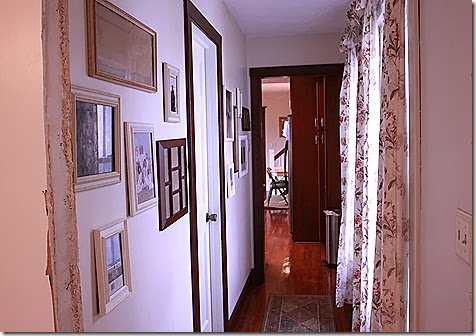
Here are the hallway, window trim and walls freshly painted, in September of 2012.  The dark trim around the doorway and the old metal threshold were removed quite a while ago because we were constantly tripping over the metal threshold.  It hurt.

IMG_3885


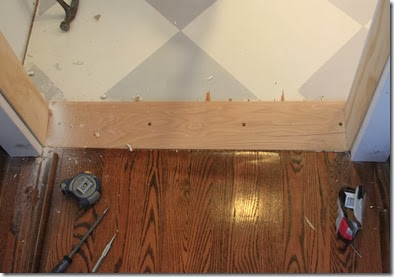
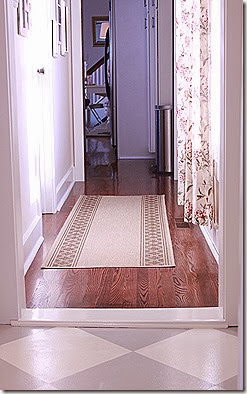
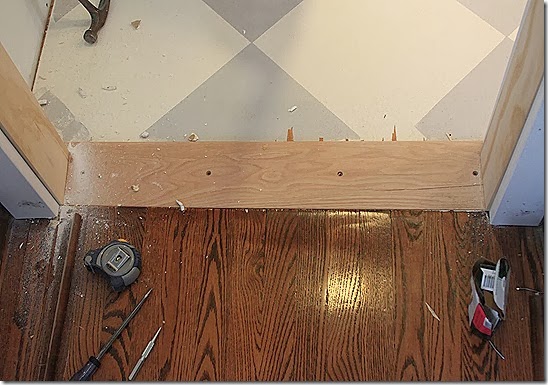
Here is a look at the new threshold, which Glenn put in just a couple of weekends ago.

IMG_6115    

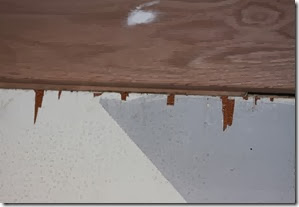
Including this close-up of the little places I needed to sand, fill, and repaint.

IMG_6426

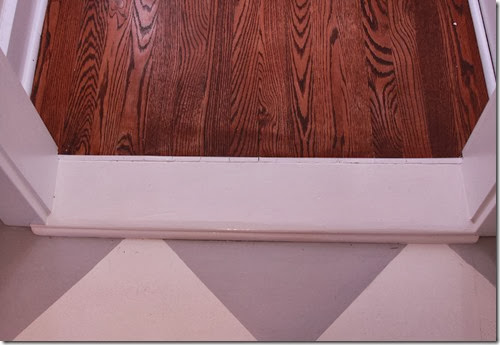
And here is the “after”.

IMG_6749


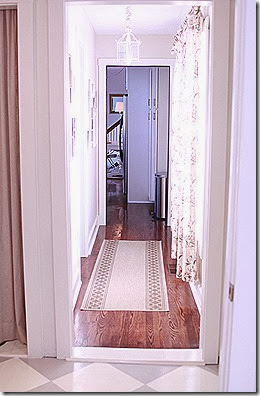
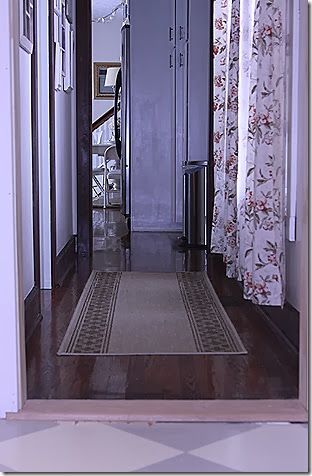
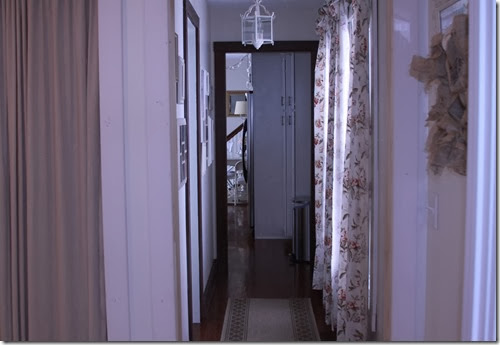
Then here are a couple of shots of the hallway with its newly painted baseboard and doorway trim. 

The “befores” and “afters” are side by side so you can see the difference.

IMG_6427                IMG_6752

This one is overexposed, but I do think it gives the best overall view of the threshold, baseboards, and doorway to the kitchen.

IMG_6748


And two more similar views, with one major exception being that the “before” was taken before I painted the kitchen cabinets last Spring!

IMG_6150    

IMG_6755


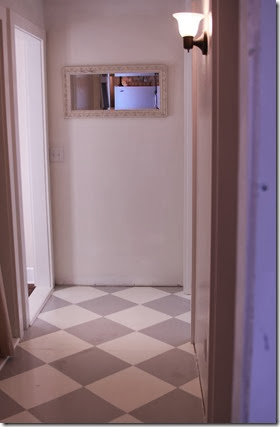
Take a look in the opposite direction..

IMG_6156

IMG_6745

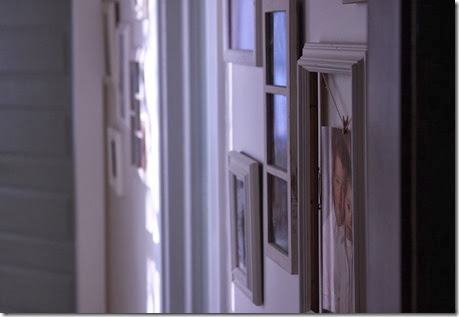
You may have also noticed that I painted the rest of the dark wood picture frames in the hallway.

IMG_6746


So there you have it!  A little trim can make all the difference in the final, finished look, don’t you think?

IMG_6745


And now, we’re moving the work into this hallway!


IMG_6757

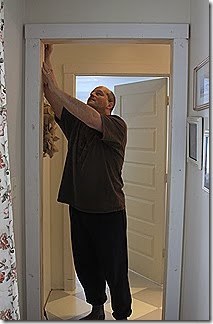
Glenn found a few pieces of trim in the cobhouse that he was able to cut down to finish the final doorway between this hallway and the mudroom.

I filled the nail holes in it with caulk just a little bit ago.


Baby steps, right?


I’m so excited!


Have a great day!
Thursday, January 23, 2014

Trimming the Walls, Instead of the Halls


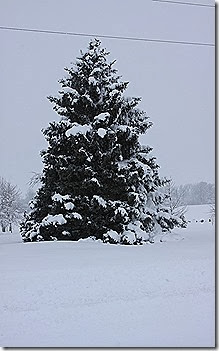
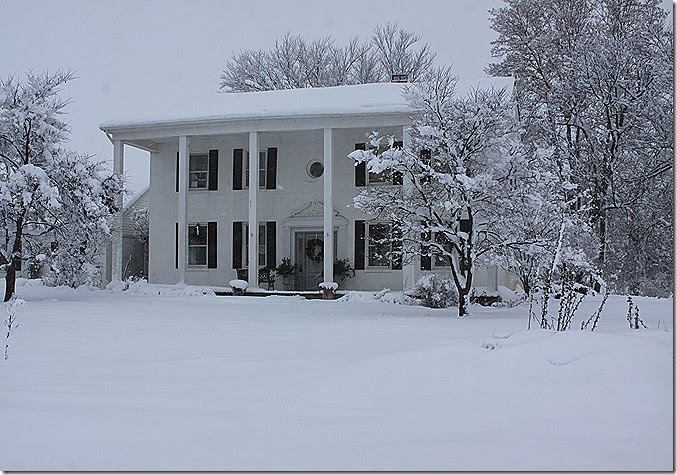
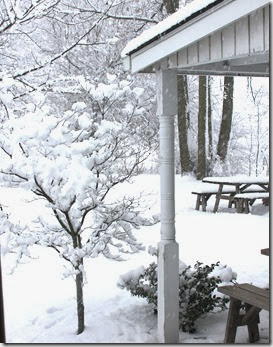
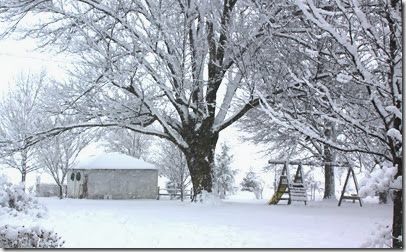
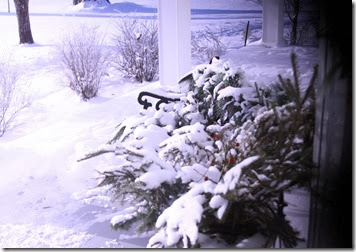
During the blizzard, the trees in our yard were magically transformed.  Look at the gigantic evergreen in our front yard!

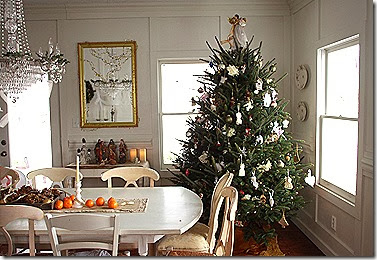
We thought it would make a beautiful Christmas Tree.

IMG_6177


Since that week, the temperatures have continued to be mostly frigid, with a couple of brief warm spells here and there.  But that’s ok;  it has given us time to do some more inside work without having any competition from the yard or other things.


With birthdays and Christmas celebrations taking up any little extra money we had, we set aside any further work on the trim or other projects in December.  But the past few weeks, we’ve been able to move forward again. 

Baby steps count!  Smile


The trim in the mudroom and hallway and our bedroom has long been at the top of our list for the next big chunk of time and money.  In order to cut the time and money into more manageable bites, we have decided to work on one doorway at a time.  Although it probably doesn’t seem as though doorway trim should be expensive, it is. 

Each doorway requires 9 pieces of trim.  3 pieces per “leg” as well as for the lintel.  And strangely enough, to me, trim boards can be pretty pricey.  Especially if you need 9.  The prices vary depending on whether you are using wood vs MDF, primed vs. non-primed, the length, width, and especially the type and grade of wood.

 IMG_6114

We decided that the doorway which used to be the garage entry, before it became our mudroom hallway and bedroom entry, was our top priority.  Because we used different flooring in the remodeled section compared to the hardwood which was already in the rest of the house, there was a difference in floor height between the two of about an inch or so.  And it was an unfinished inch. 

This is important because it means that the probability of stubbing your toe on that one inch of exposed hardwood planks has been pretty high.

Very high, in fact.

Also, the twins and Olivia are still deep in the stage of life where they are little girls for only about 20% of the day.  The rest of the time they are animals; particularly horses or dogs.  So they are literally galloping on their hands and knees across that unfinished inch of knee-scraping, hoof-tearing, paw-pad shredding cliff many times throughout the course of a typical day.

Although I don’t have pictures of the damage it has caused, suffice it to say our Bandaid supply has been severely diminished.


It took some ingenuity to figure how best to bridge the height difference smoothly, but my Renaissance Man saved the day.  He put a wide board over the threshold, then used a small piece of 1/4 round trim to smooth the transition on the mudroom hallway edge.

IMG_6115

See those little splintery looking places that are pointing upward on one side of the threshold board?  Those were places where the flooring had peeled away, due to our feet and other things scraping and catching the exposed edges.  A couple of months ago, I put pieces of clear packing tape over them to keep them from being ripped any further, until we would be able to address the threshold. 

Once Glenn put the threshold piece in place, I took the packing tape off, sanded the floor there, (and in a few other places where little divots had been gouged into the floor by the enthusiastic carrying, and dropping, of the vacuums), taped off those squares and repainted and polyurethaned them. (sanding lightly between each of the 3 coats of poly)

IMG_6137


It was so much better!


Now I needed to caulk the little nail holes in the trim and threshold, prime the pieces which were not pre-primed, and then paint.

Since I was doing the trim around that doorway, I decided it was the best time to do the rest of the trim in this little hallway.  I hadn’t decided whether or not to paint all of it when I did the windows, but over the course of months, I realized I would like it better if all of it was white.

Surprised?

Here is a look at the hallway.

IMG_6138


Now, I’m afraid this post might be getting too long. 

Plus, I’ve been so neglectful of you all for such a while now… (school and laundry and meals and ballet are so time-intrusive!)  

that I decided to show you the “afters” in another post!

Smile

Isn’t that fun!?


I hope you are all staying warm and cozy and enjoying this beautiful winter, no matter where you are.


IMG_6174

Sunday, January 5, 2014

Snow!!

The snow began falling around 7:00 am this morning. 

IMG_6112


It looks like someone is sifting powdered sugar at an alarming rate! 

IMG_6113


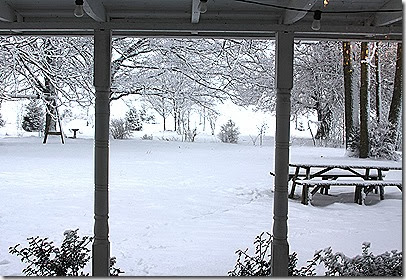
Looking in all directions, there is only whiteness.

IMG_6117


The temperatures are slowly dropping and are expected to be at record lows tonight and tomorrow, so we are prepared, as best as we can be! 


Meanwhile, our plans for the day are simple.


Undress the house from its Christmas decorations,

IMG_5380


listen to our Christmas music one last time,

play some games,

read,


and worship the Creator, with gratitude for His blessings, on a cold Winter’s day.


IMG_6108


Have a restful, peaceful day!
Friday, January 3, 2014

Icy Beauty


The temperatures have dropped below 0 degrees here in central Indiana.

IMG_6050


We’re feeling blessed and thankful;  for a warm home, plenty of food, and safety.

IMG_6048


And we’re thoroughly appreciating the beauty of Winter.

IMG_6046


Have a blessed day!
IMG_6052

Christmas and New Year’s Eve Look-Back


I hope you had a wonderful Christmas and New Year’s days with your families!
 

I’m a little late posting about our Christmas, but I thought you still might enjoy seeing a few pictures.


Our day had started early – just after 5:00 am – after 2 hours of clock watching by Isabella and Olivia. 

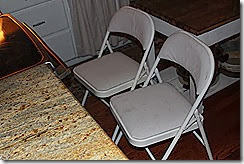
Here’s where they sat waiting, in front of the stove, until they thought it was late enough to wake us up…

IMG_5669

When I saw the chairs, it made me wonder what kinds of things they had talked about during that 2 hour wait.  Smile


Before we opened gifts, we turned on the Christmas lights, lit a few candles, and Glenn led us in a family devotion, thanking God for the gift of His Son.

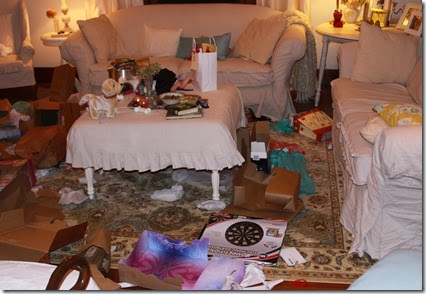
When we were finished opening the gifts, the family room looked like this..

IMG_5710


We usually spend several hours at home then, enjoying the gifts and each other, eating a special breakfast of sausage gravy and biscuits and some kind of coffee cake.  Often there is a little napping….and then we get ready to go to my parents’ house.

We arrived around noon and stayed late – although I don’t remember what time we left for home that night, I do remember that almost everyone was asleep on the way home. 

With 29 grandkids, we’ve tried several approaches to gift opening over the years.  This year we first opened by family – so all the cousins who made or bought things for the Griffin family presented them with their gifts, and then on down the line.  After that, we opened in groups according, mostly, to age, and sometimes gender.

I know this picture looks a little chaotic…but then again, it is probably a good representation of what it was like to be there. Winking smile

IMG_5733


Lots of people, lots of presents, lots of fun.


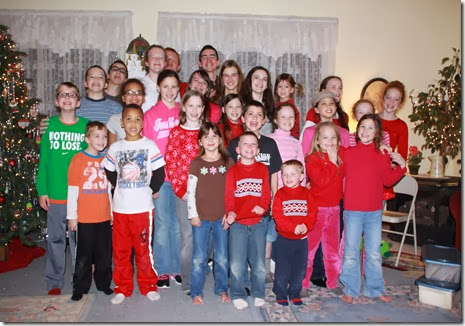
                    Here’s a peek at most (27) of the grandkids..                  


                 IMG_5814


And then came New Year’s Eve.

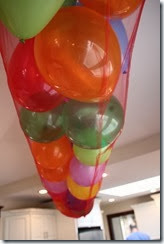
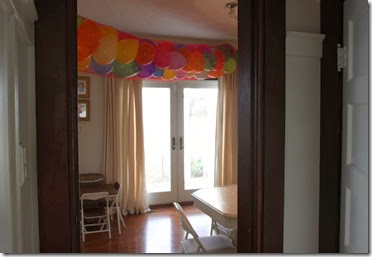
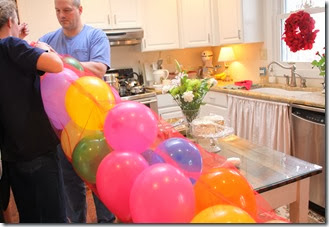
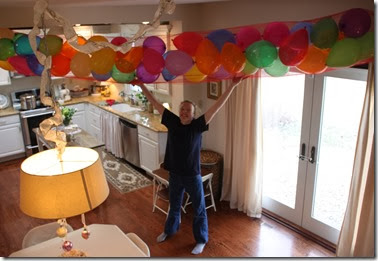
We took Colleen’s suggestion and made a balloon drop.  It was fast and easy to do – we all stood around for several minutes, blowing up 2 bags of balloons.  Then we unrolled a long piece of red tulle I found in the closet, piled the balloons in it, and stitched a long loose stitch with a needle and fishing line.

IMG_5927

We hung it from the curtain rod and the cabinet over the fridge.

IMG_5933

Oh yes!  It was festive!

IMG_5931


It looked so calm and peaceful for a few hours, as though waiting patiently and in anticipation.

IMG_5934


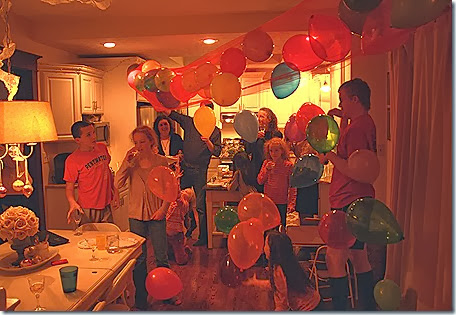
Until we dropped it at midnight!

IMG_5938


We all drank some sparkling white grape juice…


and called it a year!


Smile