Monday, September 30, 2013

Alix and Lil T


Moving here to Kenilworth last year, has brought more than a few unexpected blessings.  But one in particular, seems especially to be an answer to one of our girl’s prayers.

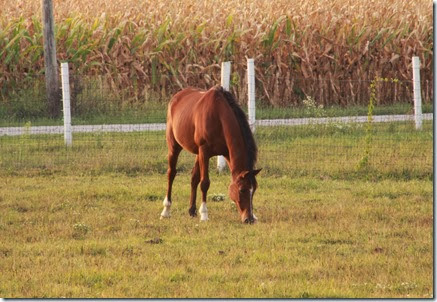
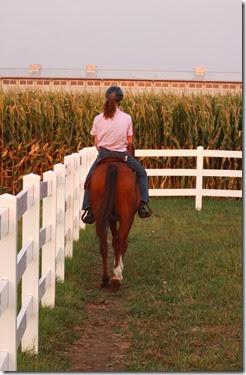
Early last Spring while we were coming daily to work on the house, a lady came riding down the road on a beautiful brown horse.  She stopped for a little while, letting the kids pet her horse, and introduced herself as one of our neighbors.  Since then, she and her husband have been incredibly kind and generous to our family.  They have invited us and the kids many times to their pool, and the girls have taken care of their horses while they are away.  The kids absolutely love them.

A couple of months ago, they told us they were selling one of their 3 horses, and planned to buy a pony which the kids would be able to ride. 


IMG_3484


This was music to Alix’s ears.

She is one of our animal lovers, and especially seems to love dogs and horses.  She has taken a couple of riding lessons in the past, from a good friend of mine.  But at 45 minutes away, that is just too far to do on a regular basis.


IMG_3486


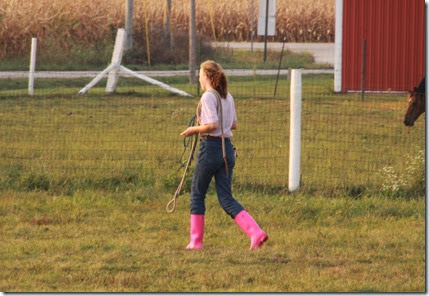
When our neighbors soon found the pony they were looking for, they offered Alix a wonderful opportunity.  They would find a local high school girl involved with 4-H and pay for her to give Alix riding lessons on their pony, in exchange for Alix mucking out the stalls every week or so.  It was a happy situation for both parties – Alix obviously finds everything having to do with horses wonderful, including mucking out stalls, while our neighbor’s husband has long been ready to hand over the job to someone more eager to do it.


IMG_3487


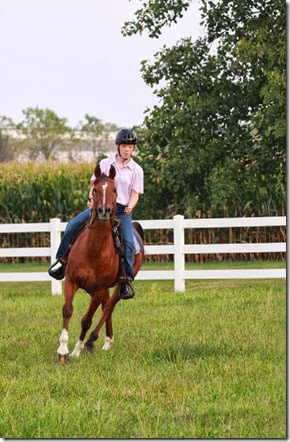
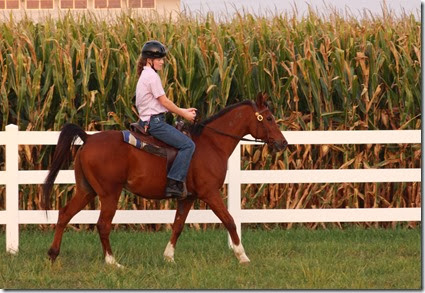
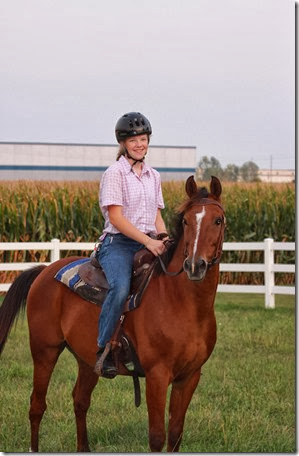
The high school senior who they found to give Alix riding lessons is a wonderful, sweet, experienced girl.  She and Alix get along famously and Alix is improving in her riding so quickly that our neighbor feels sure she will be ready to show the pony in the county fair next summer. 

Glenn took these shots of Alix riding Lil T, and I thought you would enjoy sharing her joy!


IMG_3516


IMG_3493


IMG_3491


IMG_3517


Seeing God answer Alix’s prayers is like having our own answered, too.


Have a great day, Friends!

Thursday, September 26, 2013

Painting Baskets


Over the years, I’ve collected baskets for different uses.  They’re a great way to corral things that might not necessarily have a specific home.  Kind of like a junk drawer, but prettier.

But sometimes, I end up moving them around.  And when they’re in a new place, they sometimes need a new look, too.

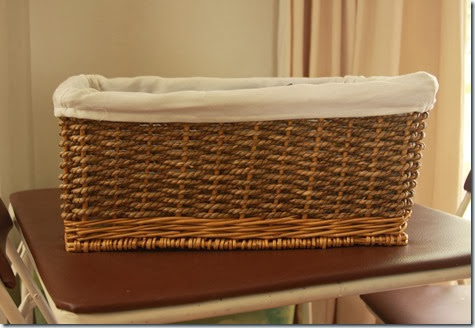
Like this basket for fruit on the kitchen island.  I love the little cloth liner, but whenever I looked at the basket, it seemed too orangey next to the color of the floor. So one day when Kate and I were at Michael’s looking for some things for her craft box, I thought of the basket.  I decided to get some gray craft paint and give it a makeover.

Here is the basket:

IMG_3438


It’s just the right size for a big bag of apples, which is the kids’ favorite fruit.


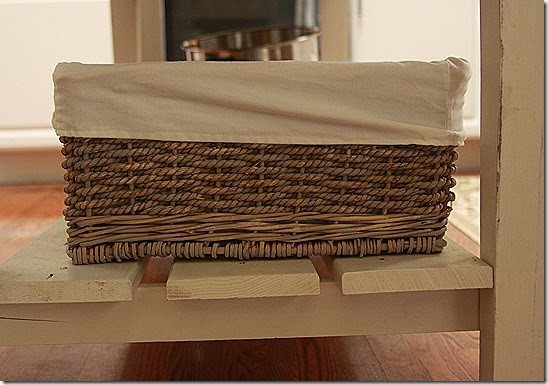
It was very easy to paint.  I just set it on an old towel, took out the liner, found an artists paintbrush, and painted. 

To give it some dimension, I used a light tan color paint here and there, on top of the barnwood gray.  And that was it!


IMG_3440


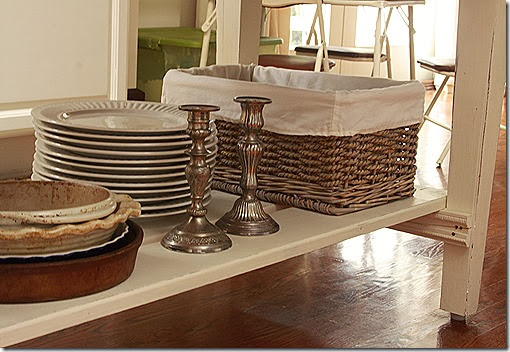
It was so simple, and took only a few minutes to paint.  Yet I think it has a much softer, pretty look now and it goes very nicely with the white plates.  I set 2 silver candlestick holders next to it, since I haven’t been able to find a better home for them, and they all look happy together.


IMG_3444


What do you think?


I liked it so much, I painted another the same way. 

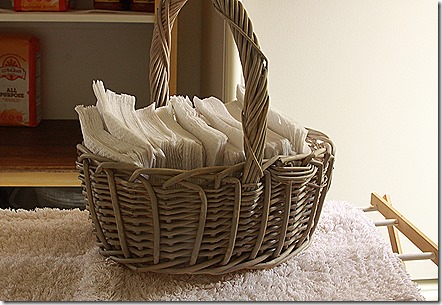
This natural colored basket recently has a new job holding napkins. 


IMG_3450


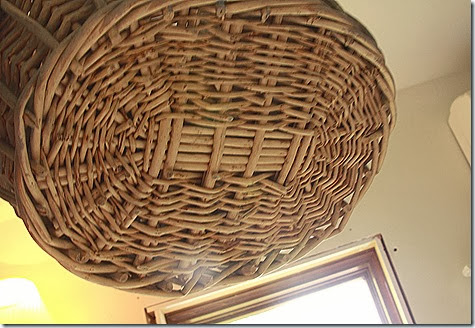
Here you see the bottom of it, because it was the only part I didn’t paint.  Smile


And here it is with its new look.

IMG_3452


Now I find myself looking at other baskets around the house, wondering if I should paint them, too!


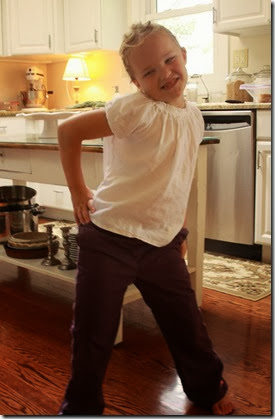
Last, but not least, I thought you might enjoy seeing how the kids like to help me when I am taking pictures of newly painted baskets. 


IMG_3447


Definitely cuter than a painted basket!

Monday, September 23, 2013

How to Make a Sofa Slipcover


IMG_3354


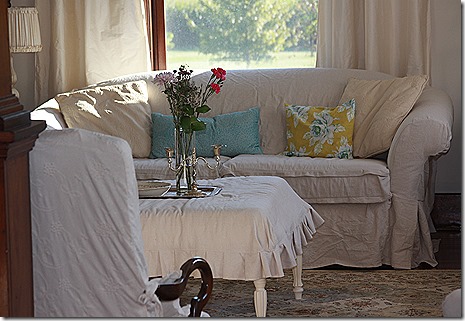
A couple of years ago we replaced our 18 year old sofas.  I searched online for a style I loved, found a local furniture store which sold the sofas, and then Glenn and I went and picked out the fabric in the store and placed our order.  I couldn’t wait till they were delivered!  The fabric I chose was similar to the slipcovers I had made on our previous sofas; a creamy white damask.  However, the new sofas didn’t come in a slipcovered style. 

For some strange reason, I didn’t think about that as thoroughly as I should have. 

When the new sofas arrived, I was thrilled!  For two whole days!  Until I realized my mistake.  No slipcovers on the sofas!  I wouldn’t be able to whip them off in an emergency and toss them into the washer!  I didn’t relish the idea of making new slipcovers for our brand new sofas.  Fabric is expensive, and slipcovers aren’t a quick thing to make.  I just didn’t have it in me to make them at the time.  So we bought a couple of generic slipcovers with ties on the corners. 

And I really didn’t like them.  The fit wasn’t terrific (they took a lot of straightening out) and they didn’t have the depth or dimension of the damask fabric of my old slipcovers and the new sofa material. 

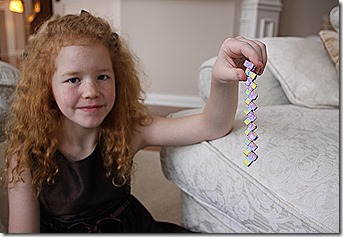
Here’s a cute picture of Kate, sitting next to our old sofa.  Notice the texture in the fabric?
IMG_0657   


Since I love white and neutral colors so much, I rely on texture and pattern to keep things from looking too boring.

But at least I could wash them. 


Well, I finally bought some drop cloth, moved over the ottoman and started the new slipcovers last month!  Since I didn’t make the piping this time, and instead opted for simpler seams, it went much faster. 

Making a slipcover is really just a matter of measuring carefully, and then doing one seam at a time.  The first two pieces I start with are the front and back sides of the sofa.

Measure the widest points from left to right, and the top middle of the sofa down to the seat.  Add a generous seam allowance to allow for shifting (and measuring mistakes).  I think I start out with 2-3 extra inches per side, and at least 8 inches extra down under where the seat cushions will be.
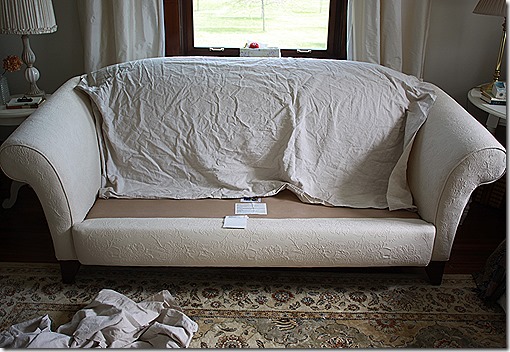
IMG_3206


Cut out two big rectangles with those dimensions from your fabric, and pin them together along the top of the sofa, following the existing sofa seam.  I usually put one pin in the middle to hold it in place, and then start from one side and work my way over to the other.
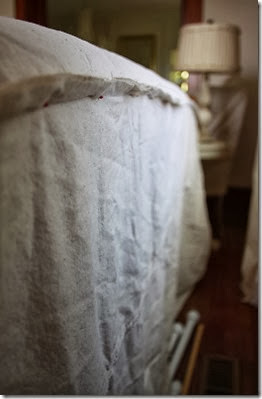
 

IMG_3207


After you have placed all the pins and adjusted them evenly, use a pencil to draw a stitching line over and between the pins.
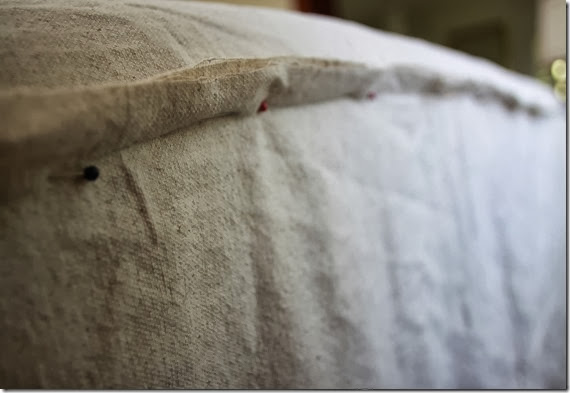
 

IMG_3208


Then stitch your seam, and put it back on the sofa, inside out, to check the fit.

And then follow the same steps, one piece at a time, for the rest of the sofa.  This one took the front and back pieces, 2 for the arm rolls, 2 for the front panels of the arm rests, and then 3 long pieces with extra fabric at the front corners and middle front for the pleats for the skirt.  I joined the seams inside the corner pleats so they wouldn’t be noticeable.

You will end up going back and forth many times from your sewing machine to the sofa, adjusting the fit as you add another piece. 

It isn’t difficult.  Just a little time consuming.   

And we all have plenty of time on our hands, right?


But when it’s finished!  Such a nice feeling of satisfaction you’ll have. 
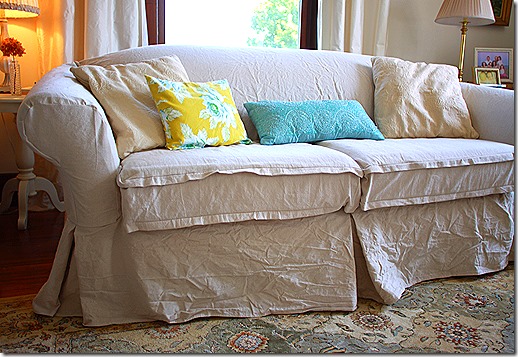
 

IMG_3236


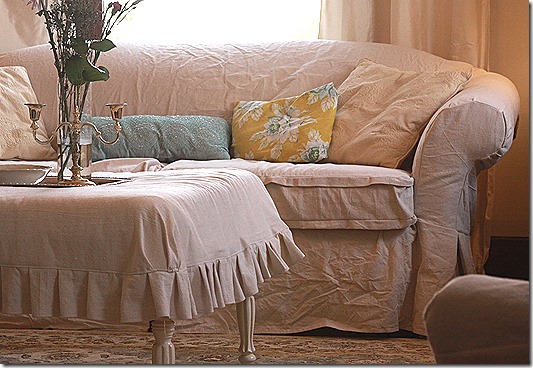
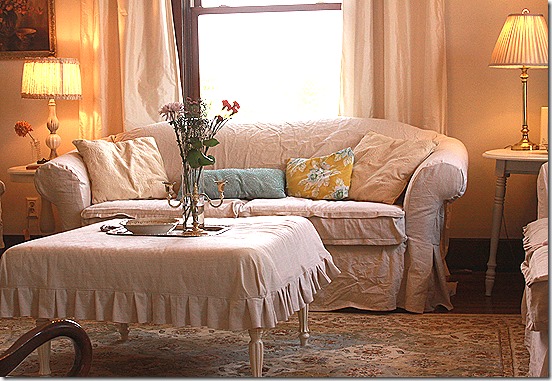
Although it may not be as beautiful as a damask, drop cloth has a very pleasing nubbyish texture which is embellished by a few wrinkles.  And most importantly to me at this season of our family life, I can wash them!
 

IMG_3391


I did the cushion covers a different day, a couple of months ago, and since I knew I wouldn’t use piping, I tried a flange on the seams to add interest.  It’s just a long 5 inch wide piece of fabric which I folded over so the edges would meet, and then stitched to the boxing panels of the seat cushions.  I didn’t even go all the way around the back side, just the front and sides.  To close the fabric in back without using a zipper, I stitched 2 long pieces of Velcro to the underside of the back panels.  This way the fabric won’t slip and slide.

I don’t have a picture of that – but if you’re interested, please feel free to ask and I can send you more detailed instructions.  It isn’t hard at all.
 

IMG_3388


Now… just one more sofa to go!  Smile
Friday, September 13, 2013

A Smallish Table


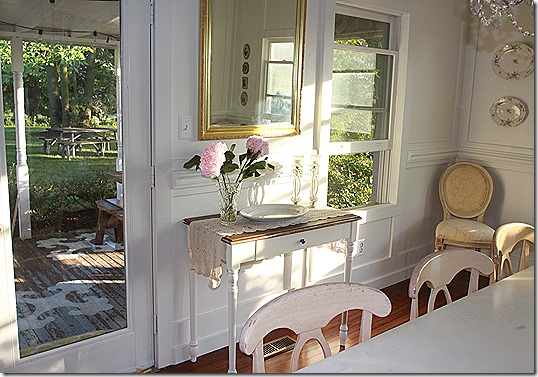
In the dining room, we have a large mirror on the narrow wall between the patio door and a window.  For a long time, this has seemed to me to be just the right spot for a smallish side table to put underneath it.  One where we could set a pitcher of orange juice on Sunday morning, or a plate or two of goodies when we have a party, or a vase of flowers and a pretty plate.

I’ve thought a few times about asking Glenn to make something like that for me, but then I think about the time it takes to do wood-working projects, even smallish ones, and change my mind.  If I’m going to ask him to spend time (and money) on furniture projects, it makes sense to do the big things, the things we really need, before we do less needful things.

But then along came Mom and Dad’s anniversary party!  The day before the party, we were setting things up and doing a little decorating, along with some very good friends of theirs.  Dayla and Sean.  Dayla asked me to help her with a small(ish) table she had brought along to use in some way.  She wasn’t sure what we could do with it, but she told me Sean didn’t want it, and he had asked her not to bring it back home after the party.
 

!!!!!


Yes. You heard that right.

A smallish table!


We used it to set up a few things during the party, including the guest book and a framed picture of my parents. 

Afterwards, I gleefully brought it home.


IMG_3177


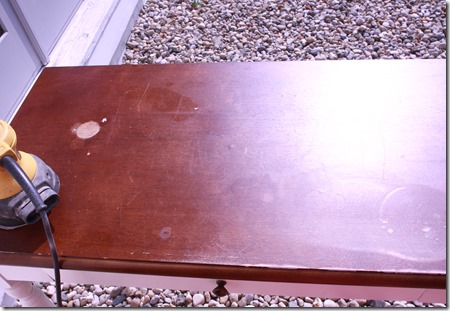
You can see it was already in great shape, except for a water stain on the top.


IMG_3178


I wasn’t exactly sure how I would finish it.  Originally I figured I would just sand it and repaint it a creamy white. 

Hmmm….or maybe a different color?…. 

Or maybe not.


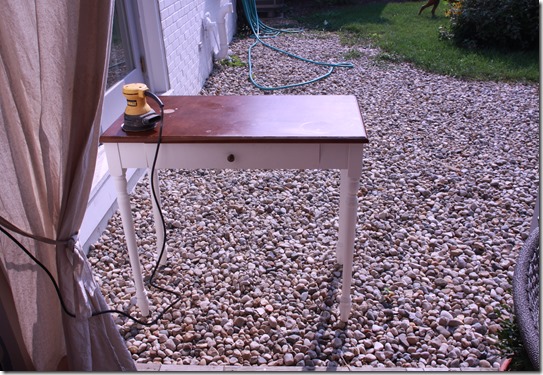
But after I sanded the top, I kind of liked it just the way it was.  The water mark disappeared with the sanding, and now the top looked kind of old and a little rustic. 

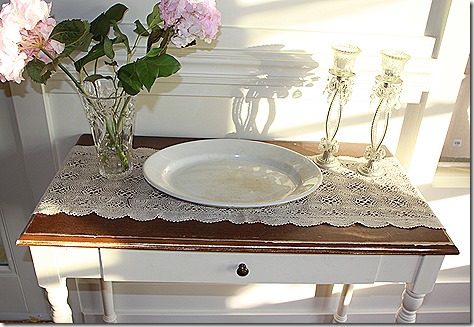
So I left it just like that.  Something about it was very appealing to me, and I decided it didn’t need anything else.


IMG_3244


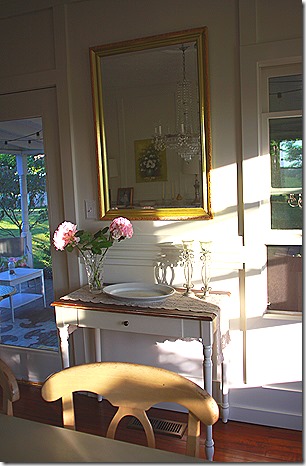
It fit perfectly underneath the mirror, in the little space between the door and window.


IMG_3245


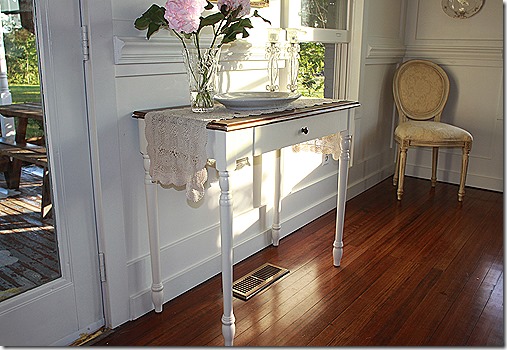
And as a bonus, the little drawer on the front is actually a pull-out tray for setting things on!


IMG_3242


I may change the little knob, if I come across something pretty, but for now, I’m so happy with it.


IMG_3246


Every time I look at it, it makes me smile to think of how it ended up here.


And that is the story of my smallish table!


It is a reminder of how one woman’s trash is certainly another woman’s treasure!


Joining

 Mustard Seed Creations Furniture Feature Friday

Tuesday, September 10, 2013

From Dark to Light–a new Light Fixture


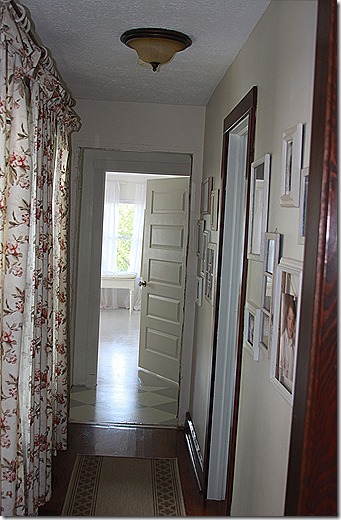
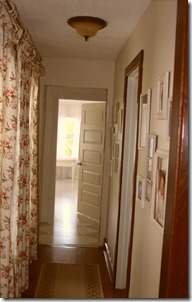
The flush mount light in the hallway near the kitchen has long been on my mental “to do” list. 

It just seemed to stick out like a sore thumb. 

IMG_3361


It wasn’t exactly an ugly light fixture, it just didn’t belong in that particular hallway of our particular house.


See what I mean?

IMG_3362


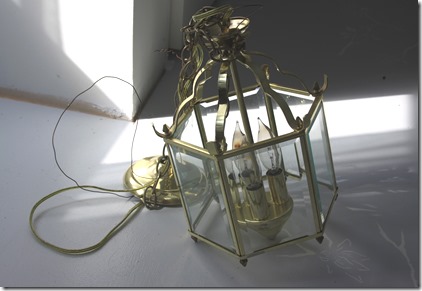
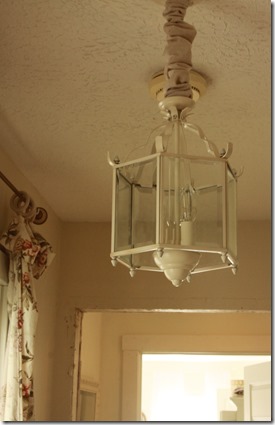
So I was thrilled last week to find something on CL that was not only inexpensive, but fit the mental picture I have had for that hallway.


IMG_3364


Well, at least I knew it would… once I painted it.  Winking smile


I took it completely apart.  Every little screw and glass insert, and each of the metal sleeves which serve as the structural supports for the glass came apart in just a matter of minutes.  This made it much easier to spray paint.

It only took one coat of paint, and a touch up here and there and that was it!


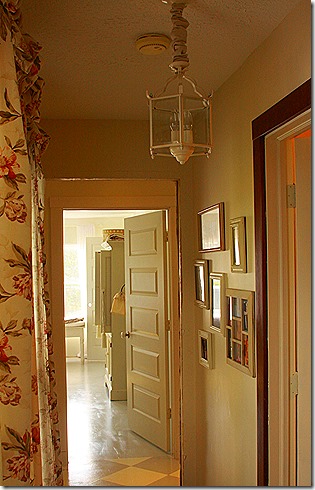
IMG_3387


I also took a piece of scrap fabric nearly twice as long as the chain and about 4 inches wide, then folded it in half lengthwise, and stitched one long seam.  All that remained was to flip it right-side out and put it over the chain like a sleeve.


I am so happy with it! 

It is amazing to me how a simple light fixture can make a difference!

IMG_3361

IMG_3383


Sharing with..

Link party button for Prodigal Pieces

Sunday, September 8, 2013

Snow…Sand…Flour


We bake quite a lot of homemade breads and rolls and dough around here on a weekly basis. 

IMG_4407

Therefore, we buy quite a lot of bread flour.

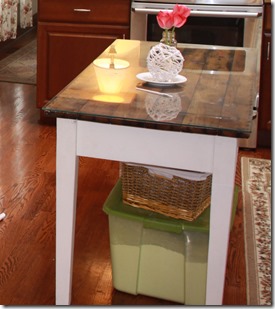
Costco sells it in a 50 lb. bag (or is it 40?  I’m not sure), and we probably go through one of those per month. To keep all this flour rounded up in one place, I bought a large green plastic bin.  I bought it years ago, thinking it was temporary and that I would replace it eventually with something that looked a little cuter than a green plastic bin.  Besides we kept the flour in the walk-in pantry anyway.  Who would even see it?

IMG_7967

Then we moved to Kenilworth, where there is no walk-in pantry, or any place to hide my green plastic bin.  For a while, it sat rather discretely under the island table, where only a few observant visitors might notice an oversized green flour bin.  But after we put a pretty shelf on the island, it wasn’t quite fit for that spot anymore, and so now it sits (temporarily of course) on the floor in the kitchen, next to a little corner. 

I’ve tried to hide it, or make it less noticeable, and I even tried keeping it in the school room closet initially.  But the various “hiding” places were just too inconvenient.

But now, in its little corner of the kitchen, it is very convenient.


For all of us.


But I hadn’t seen anything amiss, no signs at all that the flour had been used in any abnormal or un-flour like ways, until….

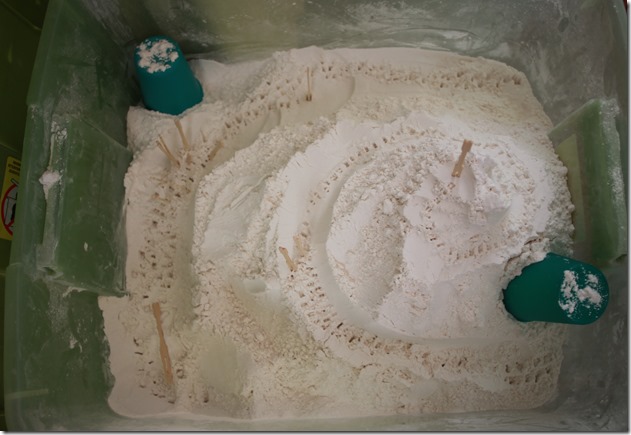
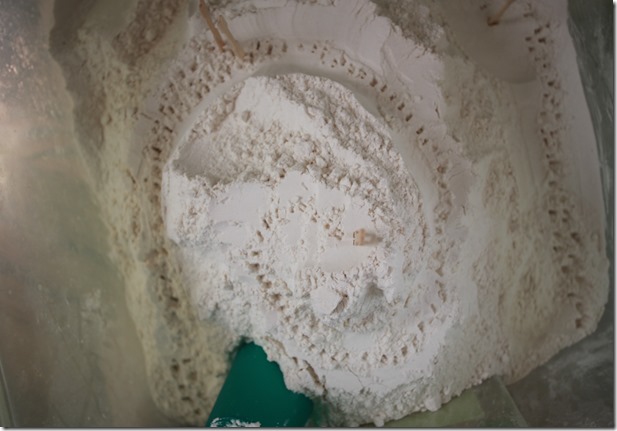
I sat down at the computer the other day and started looking through recent pictures, and I saw something quite surprising..


IMG_3211


and this…


IMG_3216


and here’s one…


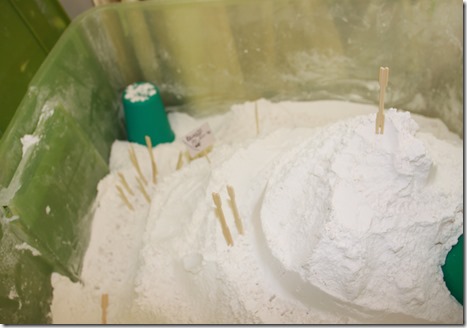
IMG_3220


and what is that??!


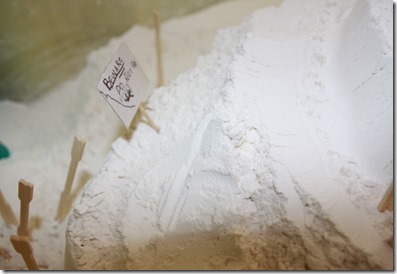
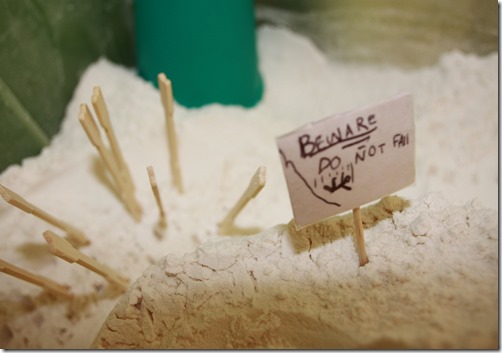
                        A little sign of some sort?


IMG_3222


Oh, I see now. 

It’s a warning to be careful, so as not to fall. 

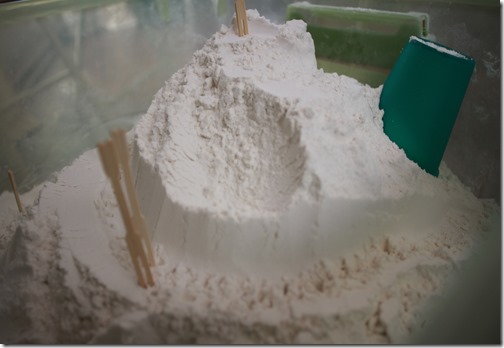
With a little stick figure person demonstrating what “falling” would look like in a green plastic flour bin.


IMG_3221


It kind of made me wish I was tiny-sized and could ride on a little dune buggy, up and around that very steep mountain of flour.


IMG_3218


It made me wish I could have been a tiny-sized person, watching my little person having fun in a green plastic flour bin.


I’m glad she thought to take a few pictures for me.  Winking smile

Monday, September 2, 2013

Family Reunion Bunting – and Family!


We were excited to host this year’s family reunion for the Calvins!  My mom’s mom was a Calvin – she had 3 sisters and 2 brothers, so there are quite a lot of us!

Most of us see each other throughout the year, but all of us in the same place at the same time doesn’t happen nearly as often.  So when we all get the opportunity to get together, it’s always a time filled with laughter and fun.


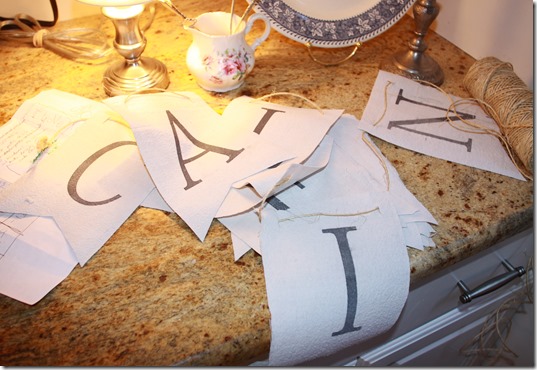
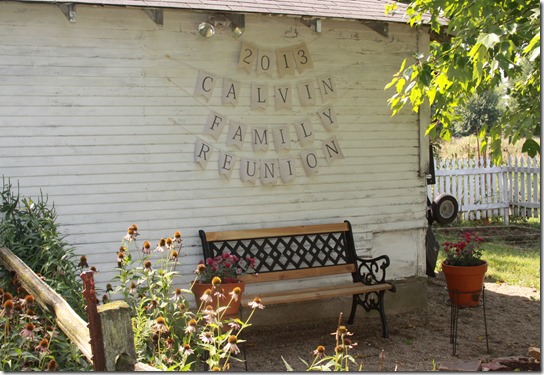
The girls and I decided to make a bunting to hang in honor of the event.  We followed directions from one of my Pinterest craft board  pins, and used drop cloth (I have more of this scrap fabric than anything else!) for the letters.

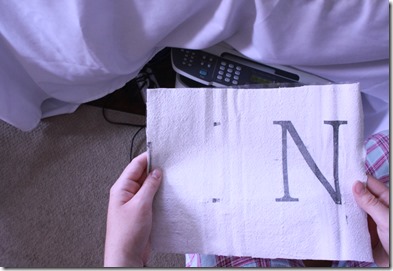
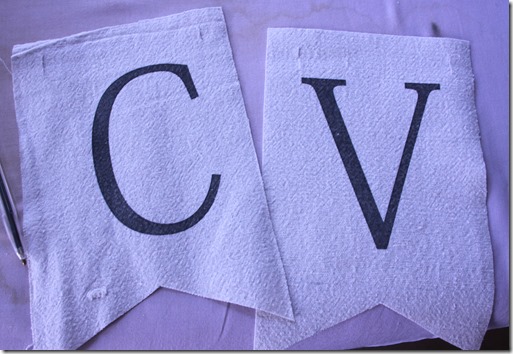
We cut out sheets of Heat-n-bond and ironed them to the same size cuts of fabric.  Then we sent the roughly 8 1/2 by 11 sized sheets through the printer and printed out the letters, 2 to a sheet, in the font we had chosen.

IMG_3183


Although a few of them became jammed in the printer, that pesky “N” did 3 times!, we eventually got them all printed off.


IMG_3247

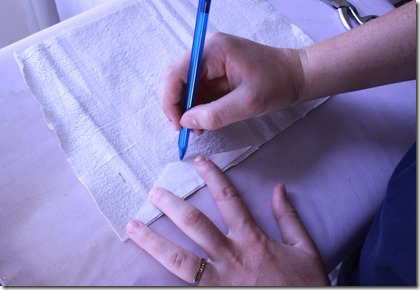
We folded the sheet in half to cut the letters into rectangles, and then we used a small triangular sheet of paper to trace the cutting lines for the bottom part. 


IMG_3184


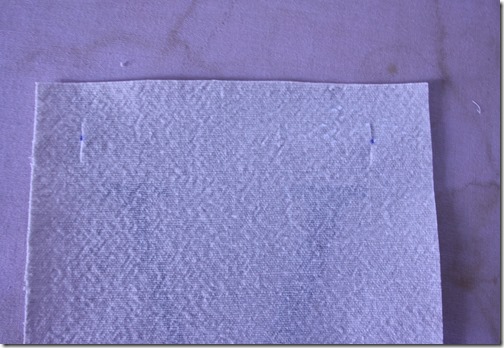
Next we measured in from the edges and made little slits in the fabric to run some twine through to hang them.  We used the first one as our template and after lining up each letter piece behind it, poked through the slits with a pen onto the back of the next letter to mark them similarly. Then we pinched the fabric into a little fold at the dot and made a small cut with scissors.

IMG_3185


IMG_3182


And that was it! 

Alix and Isabella helped me string them on the back side of our cobhouse, in a place we have created as a quiet spot (near Alix’s garden). 


IMG_3257

We pulled the planters and pots of mums forward, since we have more than a few families which would need the space next to the bench to crowd everyone into the picture together.  Smile 

We had to take pictures from a long view, so no close-ups, but I don’t think anyone minded too much.


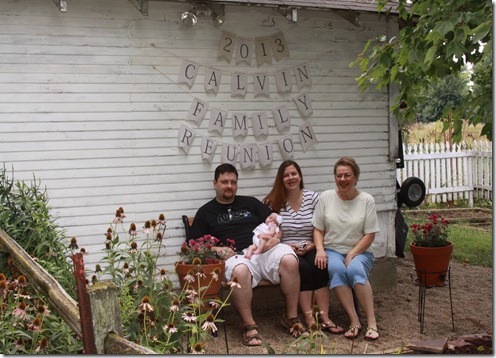
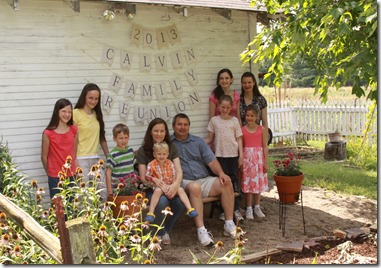
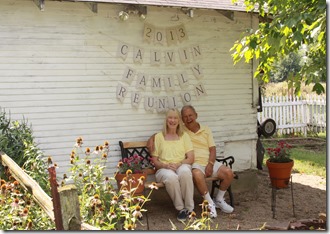
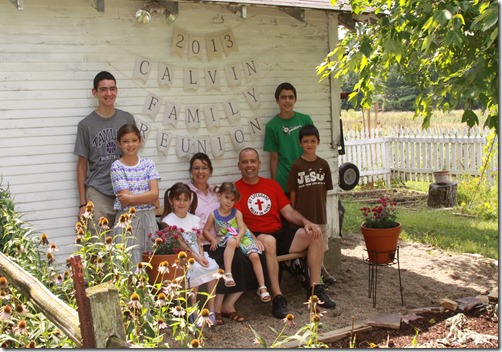
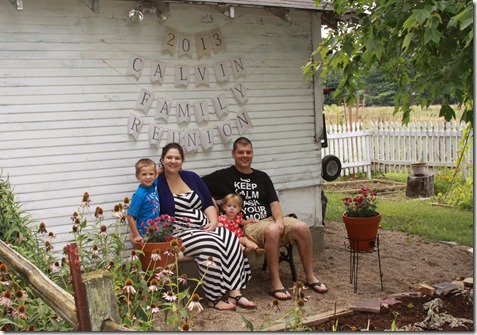
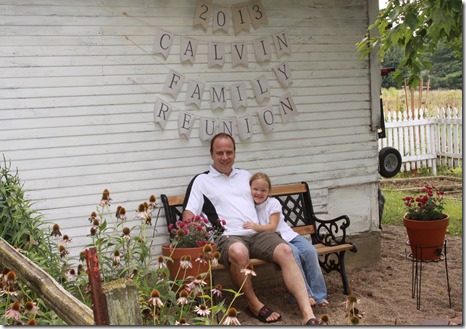
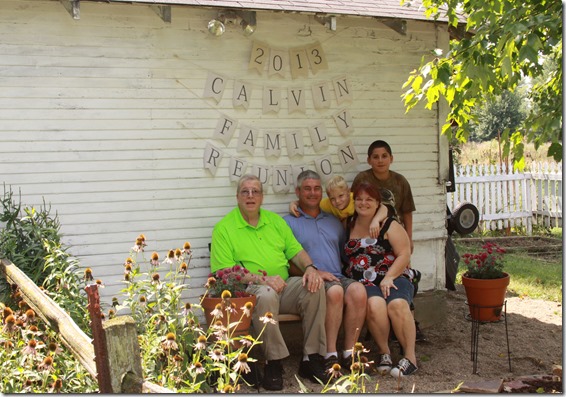
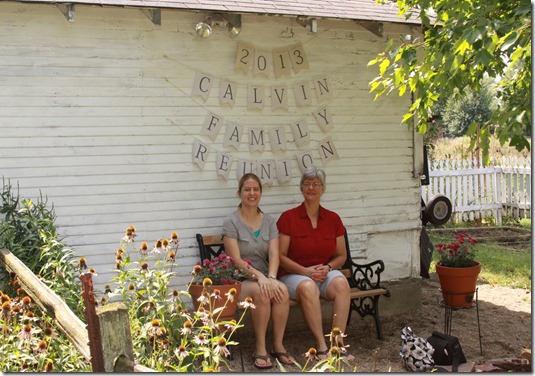
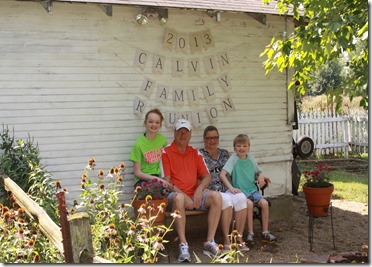
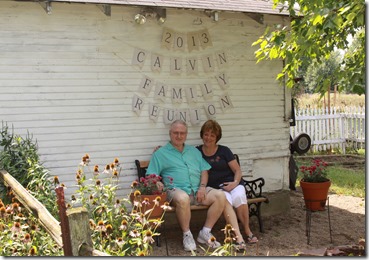
And here they are!  Our Calvin family! 

IMG_3276


IMG_3280     IMG_3262


IMG_3284  


IMG_3287


IMG_3290

Since Kyle’s family couldn’t come, Olivia volunteered to sit with Kyle so we could get his picture!  She loves him.


IMG_3264


IMG_3267


IMG_3259   IMG_3270


There was only one family whose picture we didn’t get…..  can you guess? 

Yep.

Ours!!


Smile