Wednesday, May 30, 2012

Painted Brick


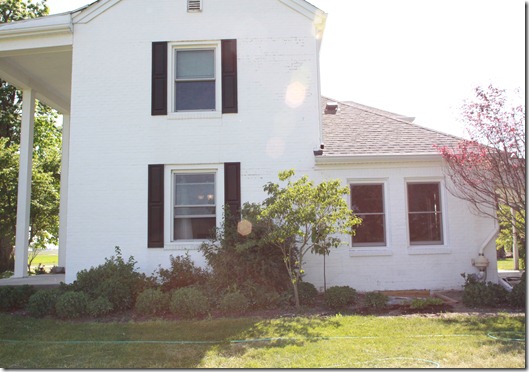
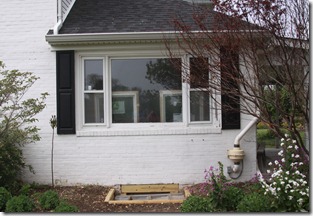
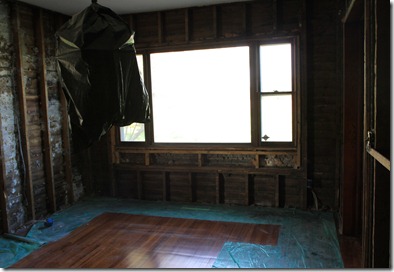
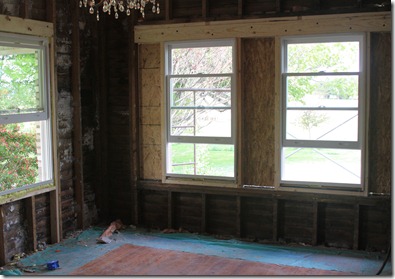
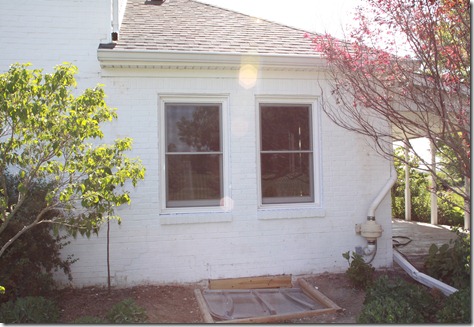
I thought you might enjoy seeing the finished look of the two new windows we used to replace the old 1973 picture window.  I’ve put a couple shots here of the progression – but now that I’m finished painting the brick around them, you have to see how bee-u-tiful they look! 


Ta Da!

                   IMG_0875


And.. Ta Da!  (a longer view)


                                                                                                                                                                 IMG_0876

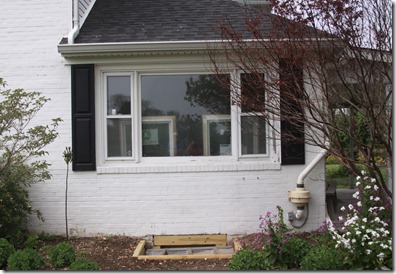
I plan to do something different with the scrabbly bushes all clumped together there, eventually.  But for now – my eyes usually go right to the windows when I walk around that side of the house.  Sometimes, after I’ve taken something out to the burn pile, I’ll veer off the straight course back to the house, so I can get another peek at the windows.  I think they look so much better!  And really, even aside from the improvement in dimension, the best difference is that you can actually see out of them!  Unlike the clouded picture window…


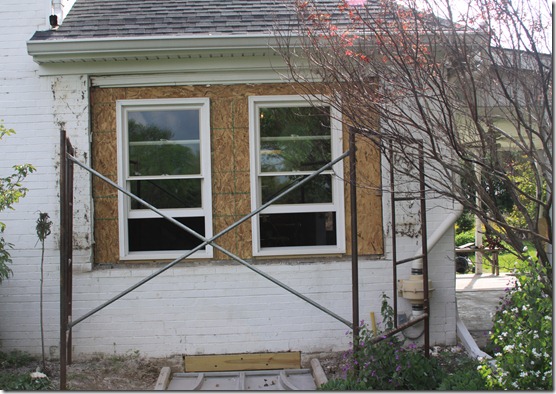
                  So here is a brief look at how things have changed there..

                    IMG_0078

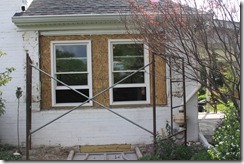
                Glenn installed the windows – and a mighty fine job he did, too..


                           IMG_0167


Then Mr. Edens and his crew of 2 used the brick we had taken off from around the picture window and the other window on the back porch, and re-bricked around the two new windows.  Once the mortar dried completely, Alix and I spent a few days coating the bricks with white paint.  I’ve never painted brick before – it’s really porous.  It took 3 coats, and I’m still wondering if we ought to go ahead and do a 4th…  At any rate, it was pretty quick and easy, other than the top of the middle section between the windows.  We were standing on a metal bench and since we couldn’t put it over the egress window opening, we had to kind of clutch the window ledges and lean out as far as possible to reach.  But we got it! 

Tuesday, May 29, 2012

Finished Fireplace!


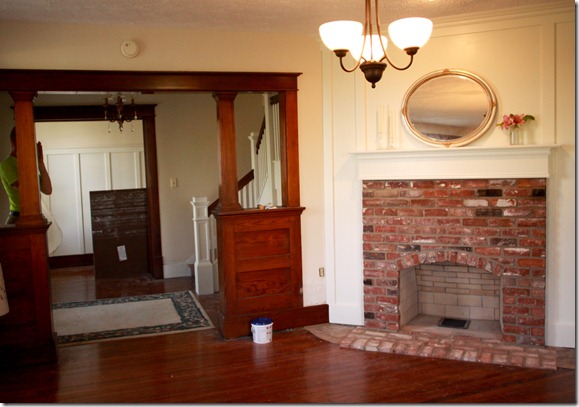
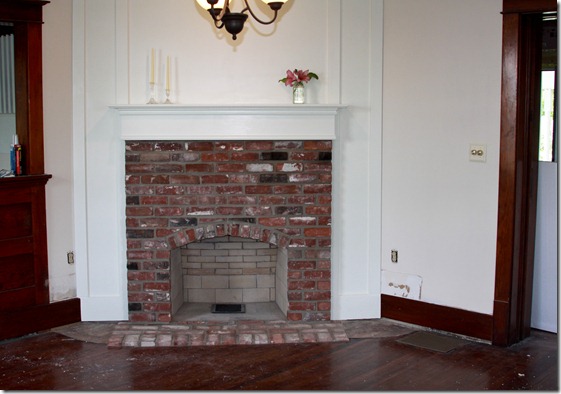
Hooray!  It’s finished!!  And we love it.  The whole tone of the family room is different…


Here it is!
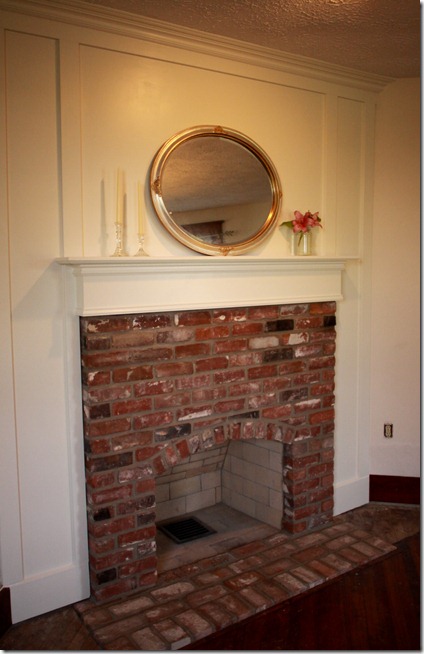
 

                           IMG_1447


And a couple of different angles…


IMG_1448 


       IMG_1434


Just for a refresher, let me take you from the way it was when we started, and through the transformations of the past few weeks…

         Here is how the fireplace looked when we bought Kenilworth. 

           [IMG_2252%255B6%255D.jpg]


                            We began taking it apart piece by piece.

                   Here it is without the intrusive hearth…
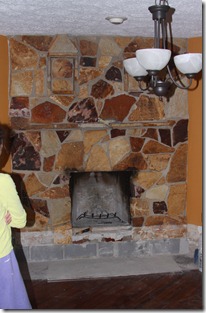
                              IMG_9876     


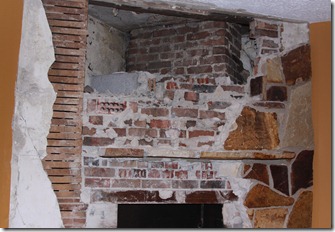
IMG_9884   You can see the stone is almost gone!


                           stone removal completed…
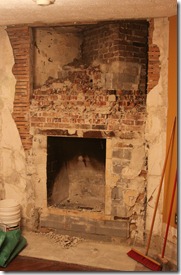
                      IMG_9890         

Then we took several days removing the cinder block and most of the brick seen in that last picture.  Glenn and the boys took turns with the jack hammer and a large chisel and mallet.  We had to remove all of that brick and cinder block because we needed to open the 2nd flu we discovered, which was necessary to have due to the proportions of the new fireplace.  Also, the firebox – the area where the firewood itself would sit, needed to be lowered so that it was level with the floor. 

I found a picture of a fireplace on the internet that we wanted to use for our design.  It was in a home built in 1740, in Tidewater, Virginia in a similar house style as ours.  However, due to code considerations, we couldn’t make ours exactly like that one – for instance the opening for the firebox area was much larger and taller in the past. Ours had to be smaller if we were actually going to use it. 

The old stone hearth had 8 large cinder blocks underneath it in the middle of the floor.  We removed just enough of them to allow for a new (old) brick hearth that would be flush (mostly) with the floor.  I say mostly because apparently our floor is a little uneven.  We didn’t realize this, although we weren’t surprised, but Mr. Edens noticed it when he laid the new brick hearth.  He told me the brick was laid even – it’s the floor that’s off! Smile   Believe me – there isn’t a floor in the house that’s straight, we just don’t mind – it’s part of the charm of Kenilworth in our eyes.


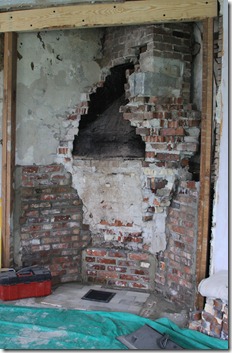
                  After a couple of weeks of demolition, we finally started over.
                               IMG_0562

We removed the plaster and lathe from the sides of the fireplace area, and Glenn repositioned the existing 2x4’s so they were next to each other at the edges.  He also made a new header for the top.  The day he put that in, as he was removing the old “support”, we heard a very loud popping noise.  All movement in the house stopped and we held our breath while he put the new one in place.  The new and improved support beam makes us very happy.


Here you can see all the red brick finished behind the firebox and the cinder façade.  That brick was packed in there!  A solid corner of it to protect the walls in the center of the house surrounding the fireplace.  Although you probably can’t tell, the second flu was also opened next to the one at the top of that blackened chimney area and cleared of the mortar and brick, which had been put in it to close it off when the old fireplace was built.  So it seems as though ours might be the 3rd fireplace in the house! 
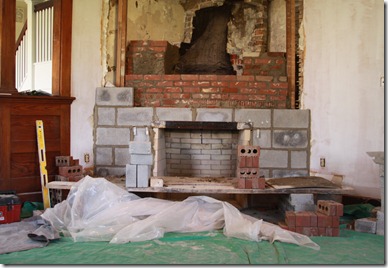
 

                  IMG_0767


I had to take a picture of the scaffolding in the family room!  It was kind of hard to imagine any furniture sitting there, at that point.  But look how beautifully the fireplace is starting to take shape!  The brick mason, Mr. Edens, found some “old” brick for us because we really wanted the fireplace to look as though it had been there for a while.  The cinder block was used because we needed a flat face for the paneling.
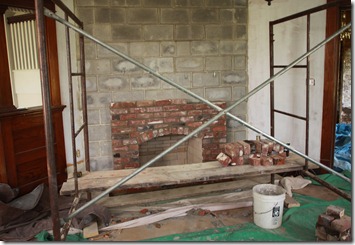
                       IMG_0788


                           Brickwork complete!   But still not what I envisioned..
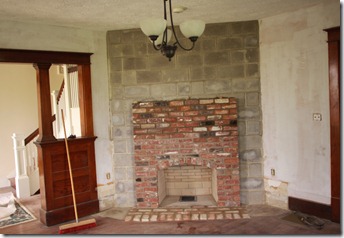
                        IMG_0852


Now it was Glenn’s turn to do the paneling.  We decided to use the same type of batten and board look as the hallway.   I really like the mantle on our fireplace here at Lyn Lea, so we used it for our prototype.  Finally, we picked out a piece of crown molding at Lowe’s.


                                       And now it was my turn to paint – and decorate!
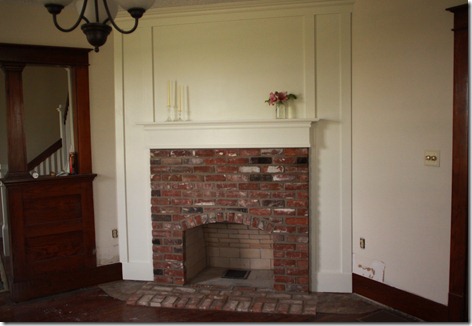
 

                     IMG_1442


Last night, I mudded the areas where the old hearth had joined the wall.  I’ll sand and paint them today.  Then I need to sand the wood floor on either side of our new hearth, and restain it to match the rest of the floor.  Thankfully the former owners left the stain for us!

Fireplace. 

Check!
Monday, May 28, 2012

The Final Frontier


Well – kind of.  What I mean to say is that we’ve begun the project that will lead to the last section of the remodel before we move in!  Yay!!

We’re changing the garage into a master bedroom, bath and closet.  Next to the “bedroom”, we’re adding a small hallway, changing the position of the laundry room in the hallway, and then the only part of the house that we’re actually adding on to the house’s footprint – the mudroom/pantry area.

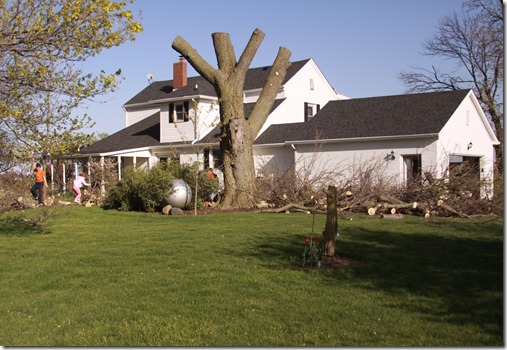
Here is a shot of the back side of the garage…

             IMG_9850

As you may have noticed, we took this right after the tree was cut down.  But it was the best I could find for now – although I think if you click on the Picasa link over to the right of the homepage, you can find one in there somewhere. 

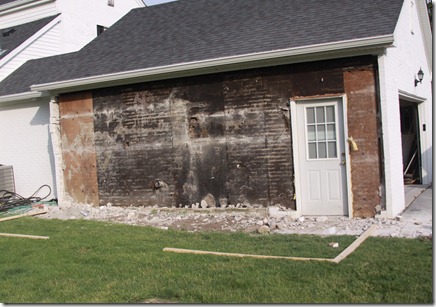
A couple of weekends ago, Glenn and Luke took down (with a sledgehammer and the famous jackhammer) the brick from the garage wall. 

                                     IMG_0577

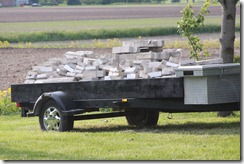
We’re saving that brick to put back up over the area where the overhead garage door is, after we finish redoing the wall and adding 3 windows for our bedroom-to-be.  Luke and Glenn piled it up on our trailer and Luke has been diligently cleaning it – removing the old mortar with a chisel-like tool and washing the bricks in muratic acid – as they await replacement.


                                    IMG_0578

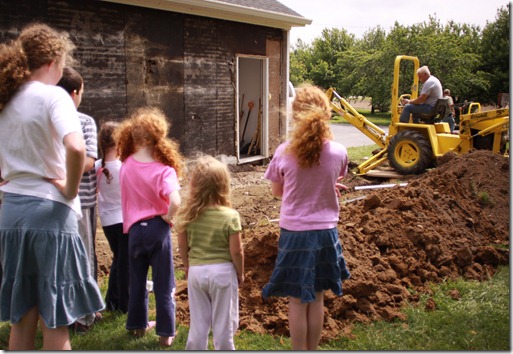
When Mr. Edens finished the brickwork on the fireplace last Monday (post on that coming soon!), he also brought his backhoe, and dug the trenches for the mudroom add-on.

Here he is on the backhoe – with eager, excited kids standing by watching, hoping for a chance to jump down into the trench as soon as there’s space and I give the thumbs up.

IMG_0850

That picture cracks me up….


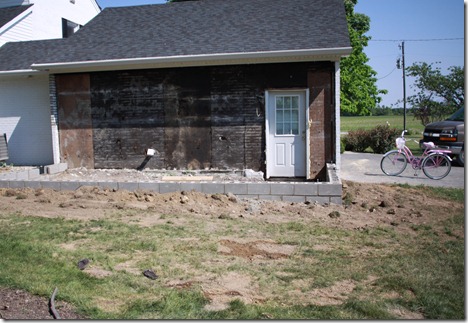
So here is what it looked like afterwards!

IMG_0873


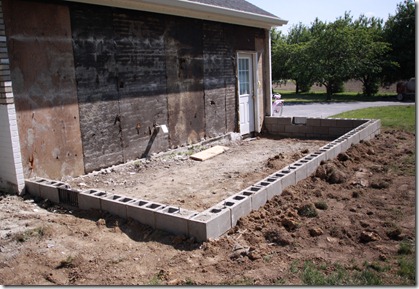
and another look….

IMG_0874

Concrete footers poured into the trench, then covered with foundation block.

Beautiful!! 

There will be a little porch in the center of the long side with a doorway.  Probably that door you see right there because it’s Free!  We just have to move it and paint it.

The far side will be part of our closet, and the remaining 2/3 or so will be mudroom with a bench seat or two, some cabinets and hooks, etc.  Still working out the design for that.  This end of the long wall will have floor to almost ceiling pantry cabinets because 9 people eat a lot of food and the kitchen doesn’t have enough space for me to put it.  Above the pantry cabinets will be a row of narrow windows.  Plus the inner wall will have the extra refrigerator – necessary because I need someplace to put the 9 gallons of milk we drink every week.

Then there will be a window on the short side facing the back porch – that shortest wall in the foreground there.

As you can see the dryer vent has to be relocated – I’m confident Glenn will get that figured out.

Old Graffiti


IMG_0858


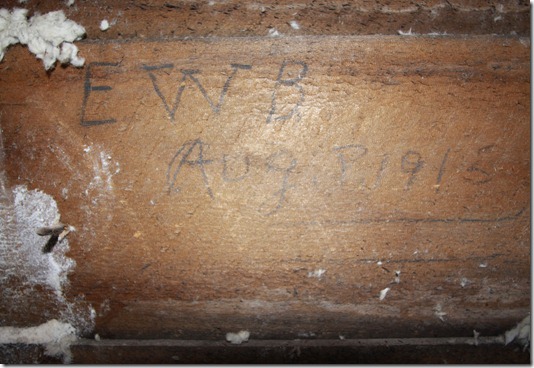
We found this inscription on the dining room wall at Kenilworth last week.  It is someone’s initials, EWB, and dated August 1915.  I think it was the Landis’ daughter, Laurabeth, who spotted it.  It was on the outer wall of the dining room, right behind the swinging door. 

We don’t know who EWB is, but, we know the front part of the house and the back part were joined together in 1913 – so apparently, EWB was there around that time and decided to make their mark on the house.  Amazing!

Monday, May 21, 2012

Fireplace progress


The fireplace should be finished today – as far as the brickwork goes.  Then Glenn will be doing all the final work including paneling and trim, and the mantle.  But I thought you might like to see some of the progress that happened this past week. 

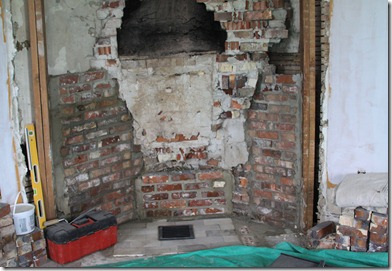
This picture shows how things looked after the masons put in the new fire bricks for the floor of the fireplace, as well as the little grate with a basket underneath which will allow us to remove ashes.  Also – all the brick along the sides and in the middle is the new brick – you can tell because the mortar is dark gray instead of light.  This brick needs to be here to protect the walls from the heat of the fires we will someday have – so it’s pretty important!  But none of it will be visible when the fireplace is finished. 

                   IMG_0563

Not much else to say at that point – except we could tell there was forward progress finally instead of the demolition we kept doing to it.


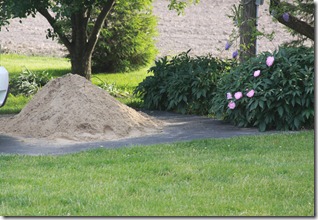
This is the pile of sand sitting on the driveway that the masons are using to mix with the mortar.  They have a little mixing machine that sits on 2 wheels and is hitched to one of their trucks.  They put sand, cement mix, and water from the hose in that little mixer and mix it all up.


                    IMG_0576


The kids have spent some time standing around watching the guys as they lay the brick.  Kate told me that when the mortar consistency looks just right, the guys say, “Soup’s on!”.  The kids think this is hilarious.  Some of the girls have spent lots of time making their own “mortar” with sand from the sandbox, a small blue bucket and my gardening trowel.  They’ve built a little town with 2 houses so far, and more to come, out on the circular concrete pad that used to be the foundation for the grain bin in the field next to us.  I should have taken a picture of the leftover mortar and my sticky trowel which I found sitting in the garage when they stopped work for the day… it reminded me of the many mudpies my sisters and I made when we were kids.  Of course our mud pies were made with dirt and water and leftover chicken pot pie tins.  Much less sophisticated to be sure.

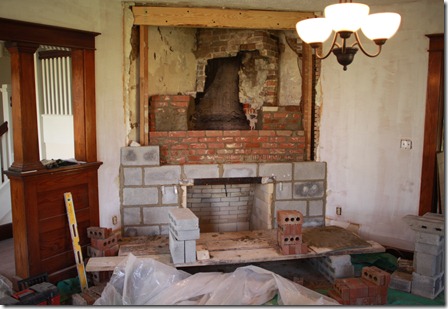
And here is one more shot of the progress…  The firebox in the middle has the damper in place over it, the cinder block goes along the sides and will be covered over with MDF board and trim.

             IMG_0777

It was about this point that I started losing sleep at night – wondering what in the world we are doing.  Are we making it better??  Or not?

Friday, May 18, 2012

Batten and Board


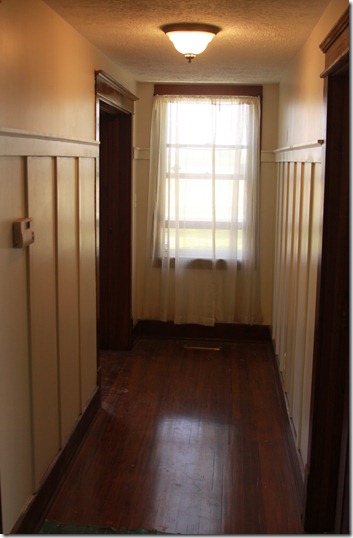
We’re finished with the hallway – and if you can get excited about a hallway… we sure are!


                                   IMG_0551


                                                                                                                                                                         IMG_0772


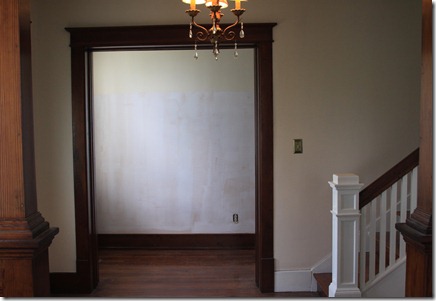
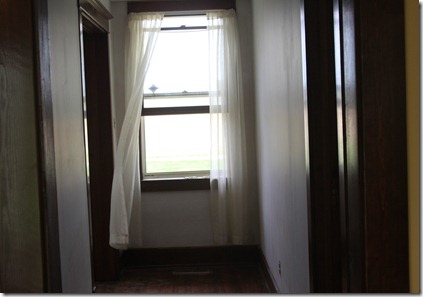
Here is a shot of the hallway after I primed over the dark yellow paint– I think it’s kind of neat to see the wind blowing the curtain here, but look how boring the hallway was…


                     IMG_0181


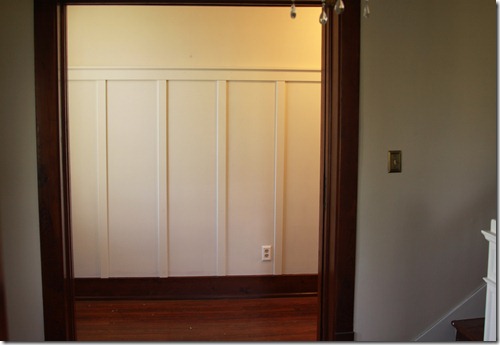
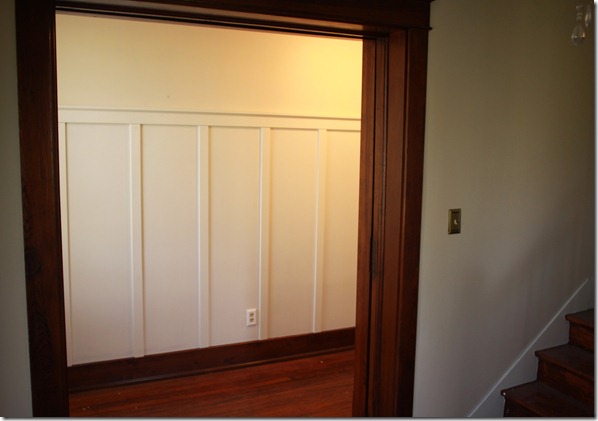
Until now!  Hello batten and board!

 
                                             IMG_0770


After I primed the walls, we decided how high we wanted the top trim piece to be. Glenn and I measured the distance and marked it off with a pencil line on the wall.  I painted the upper portion first.  Next I painted the bottom part of the wall with the trim color I’m using throughout the house – the same as what is on the stairs and the front door.  It’s called Crisp Linen and I chose it over several trim colors grouped in the paint department at Lowe’s because it’s a warmish white. 

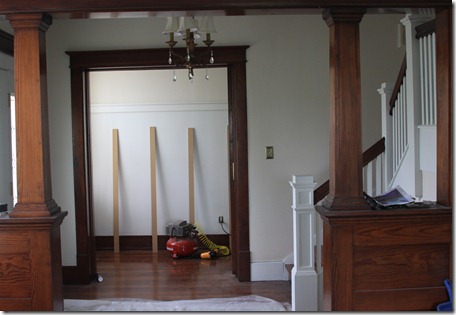
After he put up the top trim piece, Glenn cut each piece of MDF board the 3 inch width we wanted to use for the long boards and we leaned them up against the wall to see how far we wanted to space them.  I’ve read that the spacing is typically anywhere from 12-18 inches.  Because of the length of the hallway, ours were the most evenly spaced at 19 inches apart. 


                   IMG_0564

Then I primed each board – there were 11 total for the whole hallway – as well as the trim pieces we used for the ledge and the slender mold piece between the top edge to where it meets the flat side. That curved trim helps smooth the transition from the upper ledge of the trim to its face so the whole piece looks smoother and curvy, less angled and abrupt.  Don’t have a close up, but hopefully you get the idea.

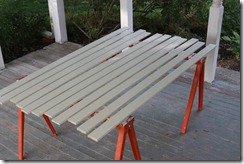
Here are the vertical boards, right after I painted 2 coats of the trim paint over the primer. I painted the edges first, and then the top.  It was fast – since we were outside they dried quickly.


                             IMG_0572


Glenn and I took them inside and held them up to the pencil markings on the wall he had made for each one – 19 inches apart- held the level next to them to make sure they were straight, and then used the nail gun to secure them. 

That was it for the night, but the next day Glenn used wood filler to fill in the nail holes, then sanded them lightly and I touched them up with the paint.  He also used a type of caulk that helped hide any little cracks between our curvy drywall-over-plaster walls. 

Later, the plan is to put hooks along the top of the trim for coats, since we don’t have a coat closet and we have lots of friends!  Picture your coat right there…  And along the upper wall, we’ll put a few family pictures.  But for now – we think the hallway is beautifully changed and the wainscoting adds a lovely architectural feature that suits the house.

You know how I like white trim – and many of you have predicted (rightly so) that I would do a lot of painting at Kenilworth since there is an abundance of stained trim.   Most batten and board images I’ve seen have a painted baseboard – but we’re trying to see how it looks to mix some painted trim with the beautifully stained trim that is already there.  We are very happy with how it turned out and decided that for now – it’s staying the way it is!  Can you believe it?


       IMG_0778

Wednesday, May 16, 2012

Basement Changes


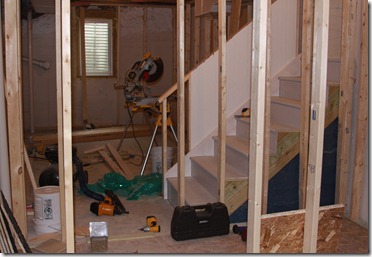
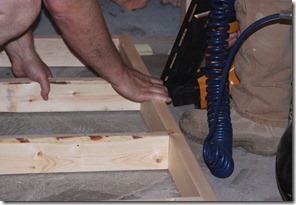
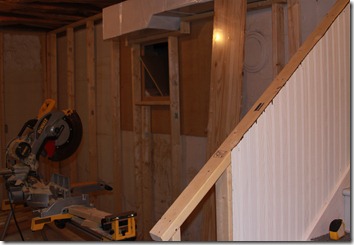
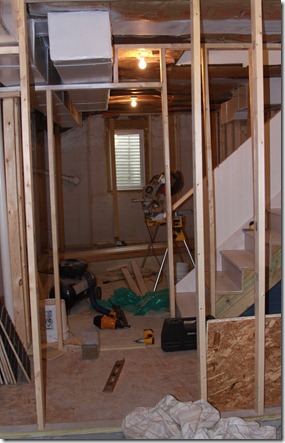
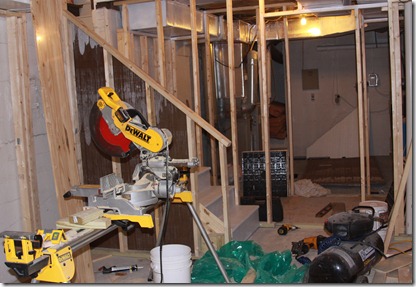
The basement has undergone some major changes already.  Here is a shot of the new stairs, the studs for the walls, etc.  This mess is a beautiful mess to us because it’s clear now where the walls will be and gives us a great idea of how the space will feel when it’s finished.  The boys are thrilled.


  IMG_0074


IMG_0005


                         IMG_0075


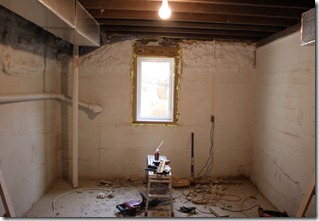
Below is a good idea of what the basement looked like just after Glenn and Luke put in the egress window and leveled the floor with a concrete leveler.


IMG_2380         

Next came insulation in the ceiling to cut down on noise level, the new stairs which Glenn had to design, and wall studs.

Also, Luke sized, cut, and laid the Dri-Core flooring almost completely by himself.  He’s learning so much through all this, and getting practice on some things he already knew.  The Dri-Core is really neat – it is particle board on one side (see the squares leaning against the wall studs?) and then the opposite side is a raised almost rubbery kind of surface with a design on it that will allow moisture and air to circulate between the basement floor and the particle board.  This will keep the basement dry and create a thermal barrier that increases the room temperature by 6-10 degrees.

                     IMG_0073

We also primed and then painted the duct work.  We decided it was easier (and kind of manly) to have the duct work exposed, than to try to frame and drywall around it.  So after wiping down the ducts with mineral spirits to remove dust, Luke used the Zinsser Primer 1-2-3 in a spray paint, and then we took turns rolling on some latex enamel white paint.  We used a little midget foamie roller to paint with – which was just the right size for the job.


IMG_0076


I don’t have a shot of the wiring – but Glenn and Mick finished that off a couple of weekends ago.  So the basement has new electrical outlets (several) and a new 3-way light switch, plus 4 new recessed ceiling lights – the kind that will look like eyes- spaced throughout. 

Glenn’s working in the twins’ and Olivia’s room this week while Mr. Edens continues to work on the fireplace. 

And the kids and I have moved lots of plants and are watering every day!  Plus I primed part of the kitchen yesterday!  Exciting!

Sunday, May 13, 2012

We’re working!


We are almost finished with the batten and board in the hallway!  It looks so good!  I’ll get some pictures of it early this week, as soon as we fill the nail holes and do the final touch up paint.

Meanwhile…


IMG_0550


Here’s a shot of the entry – with the walls freshly painted!  We’re done here, other than a final touch up on the trim paint just before we move in.


                                       IMG_0555


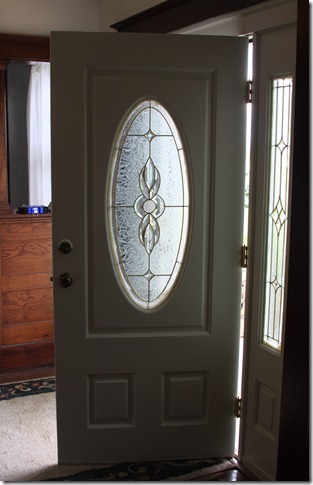
The door is also finished!  I wish I could get a better shot of how creamy and pretty the white looks against the stained wood trim surrounding it.  But I couldn’t!  So this is the best I can do – and you’ll just have to come see it for yourself!

Wednesday, May 9, 2012

Alix and Kate


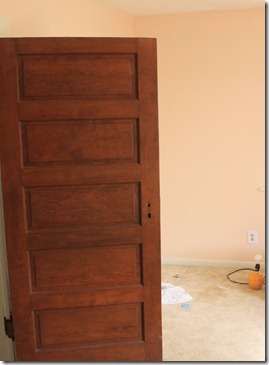
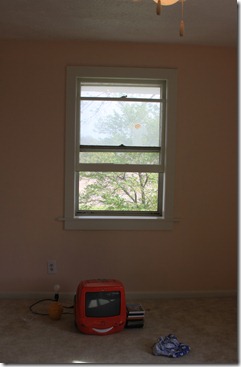
Alix and Kate’s room has undergone some changes.  The photo on the right shows the room when the previous owners were there still.

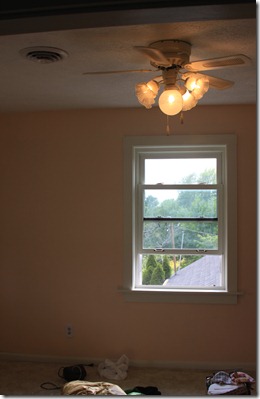
The shot on the left shows the room now.  Of course, furniture and curtains will make a really big difference – but the color is much more girly.  And Alix and Kate were the ones who chose it!  I painted the trim, the ceiling, the vintage round air vent, and the ceiling fan.  Although the newer photo doesn’t do it justice, the room is much airier and pretty.  The girls love it.  All it needs now is some new carpet and some curtain panels to replace the sagging bifold closet doors.

Enjoy the befores and afters!


IMG_0169IMG_1860[1]


The one on the right is kind of dark, but those 2 pictures together are from a similar angles as the one before shot which is below them.

IMG_0173    IMG_0172

                                       IMG_1858[1]


We’ll put up more shots later – when the girls are moved in and have made it their own space.  But for now, I thought you’d like to see some of what I’ve been up to!

The Dining Room


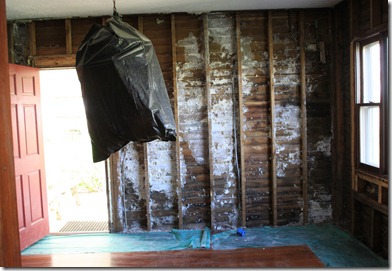
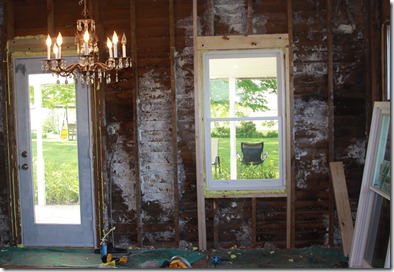
I’m a little behind – but here are the before and after shots which are most recent.


                          IMG_2315    


                                    IMG_0106


and the East wall -


                            IMG_2318


                             IMG_0163


The outside view is very different too – although, also not completely finished yet.  There’s still the brick around the two windows to do.

                           IMG_0078


                                                                                                                                                           IMG_0167


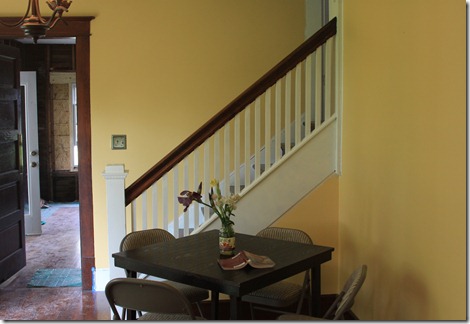
I like this shot because it gives an idea of how pretty this little eating area might be someday.  That yellow paint is going to be primed over very soon….  But doesn’t this look inviting?

IMG_0161


This week, we’re weeding and moving plants around.  The weather is great, so it’s nice to be outside working for a while.  Besides I hadn’t weeded since before Easter.  Some of those weeds were capable of providing shade for the house.  Glenn and Luke also finished moving away the last of the huge tree trunk pieces out of the front yard.  Ahh – a smooth lawn and some plants around the really big stump. 

There’s lots of work with a home – but it’s a really good kind of work.  The kind I’m thankful for.